
Maps
Use the Maps component to add interactive maps to your board and place location pins. Perfect for marketing plans, territory mapping, logistics strategy, and location-based collaboration.
The Maps component lets you add real-world geographic context to your whiteboard.
Place interactive maps on the board and mark important locations with pins to visualize markets, customers, events, routes, or project sites.
It’s ideal for marketing planning, territory mapping, logistics strategy, and location-based brainstorming.
How to add the Maps Component?
In the MockFlow Board editor, click on the 'Add' icon in the top left corner. Look for the Maps and add it to the canvas by dragging and dropping it.
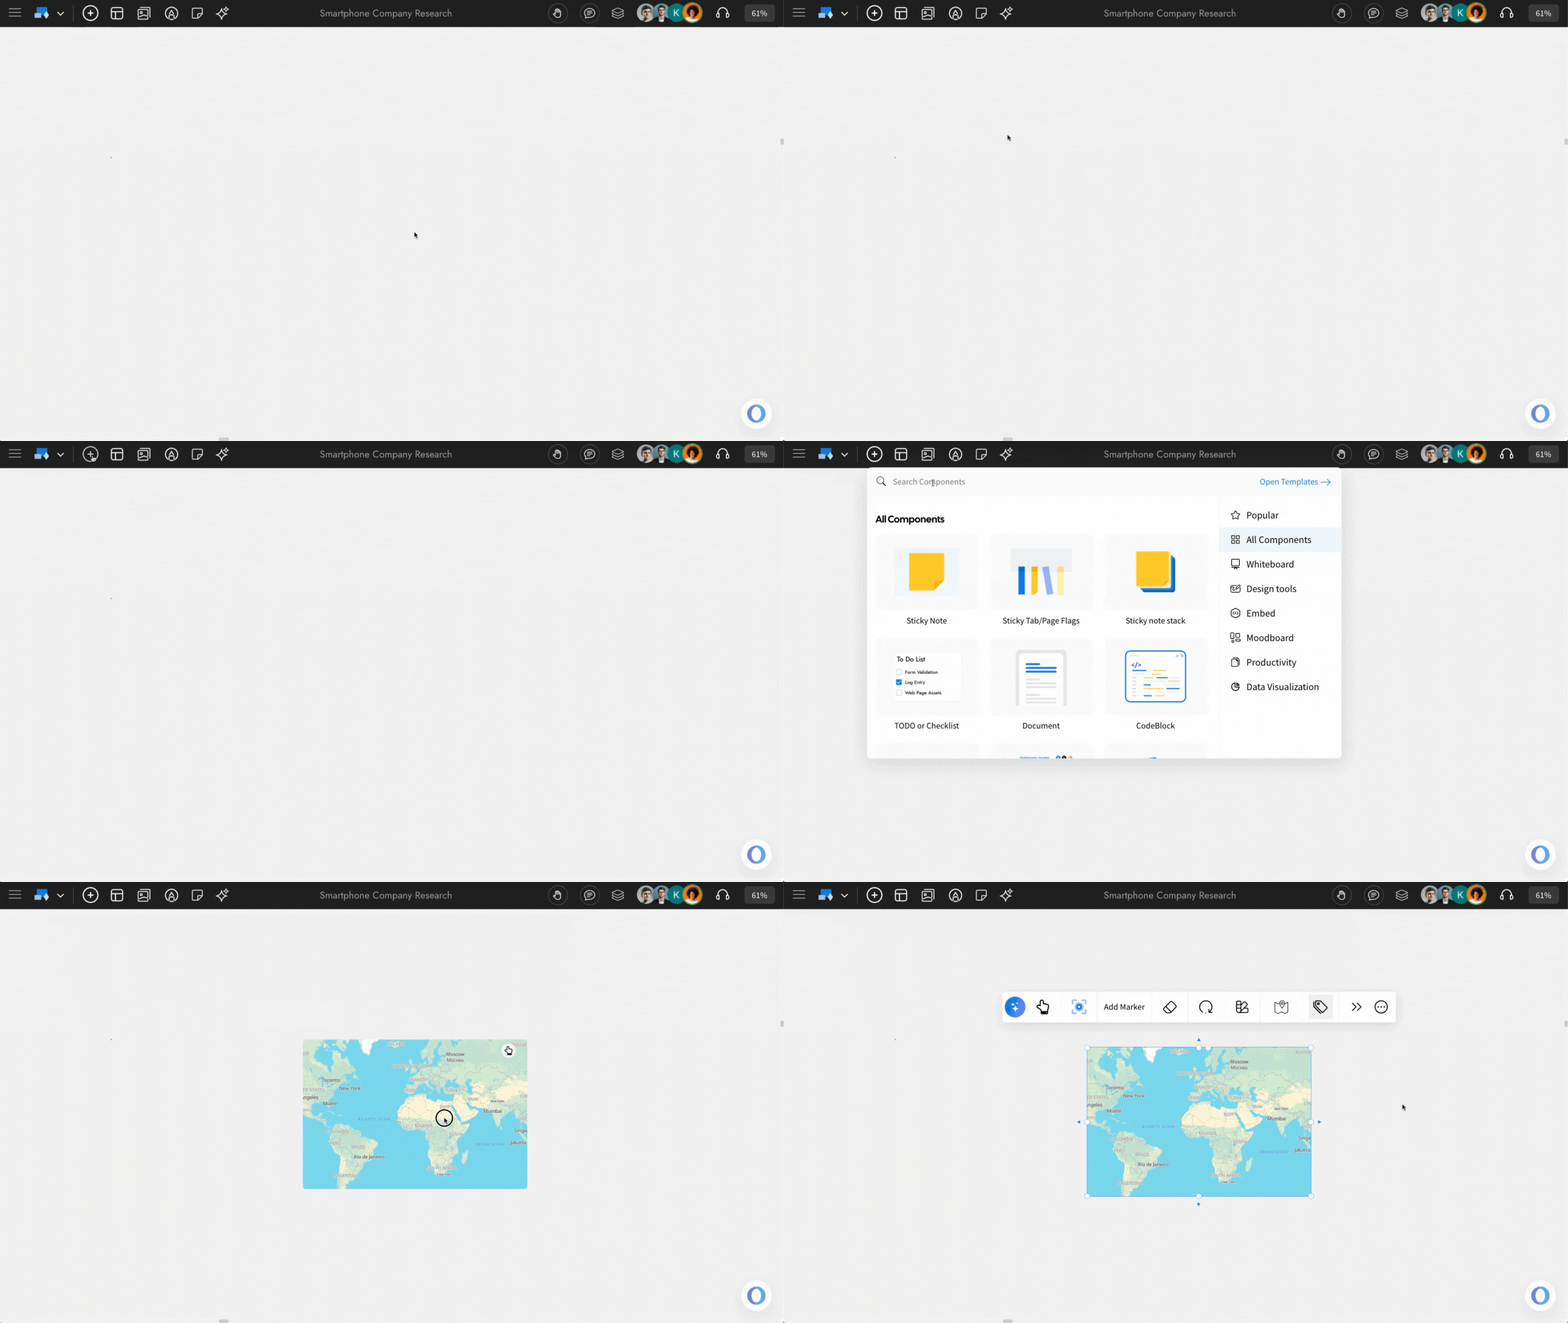
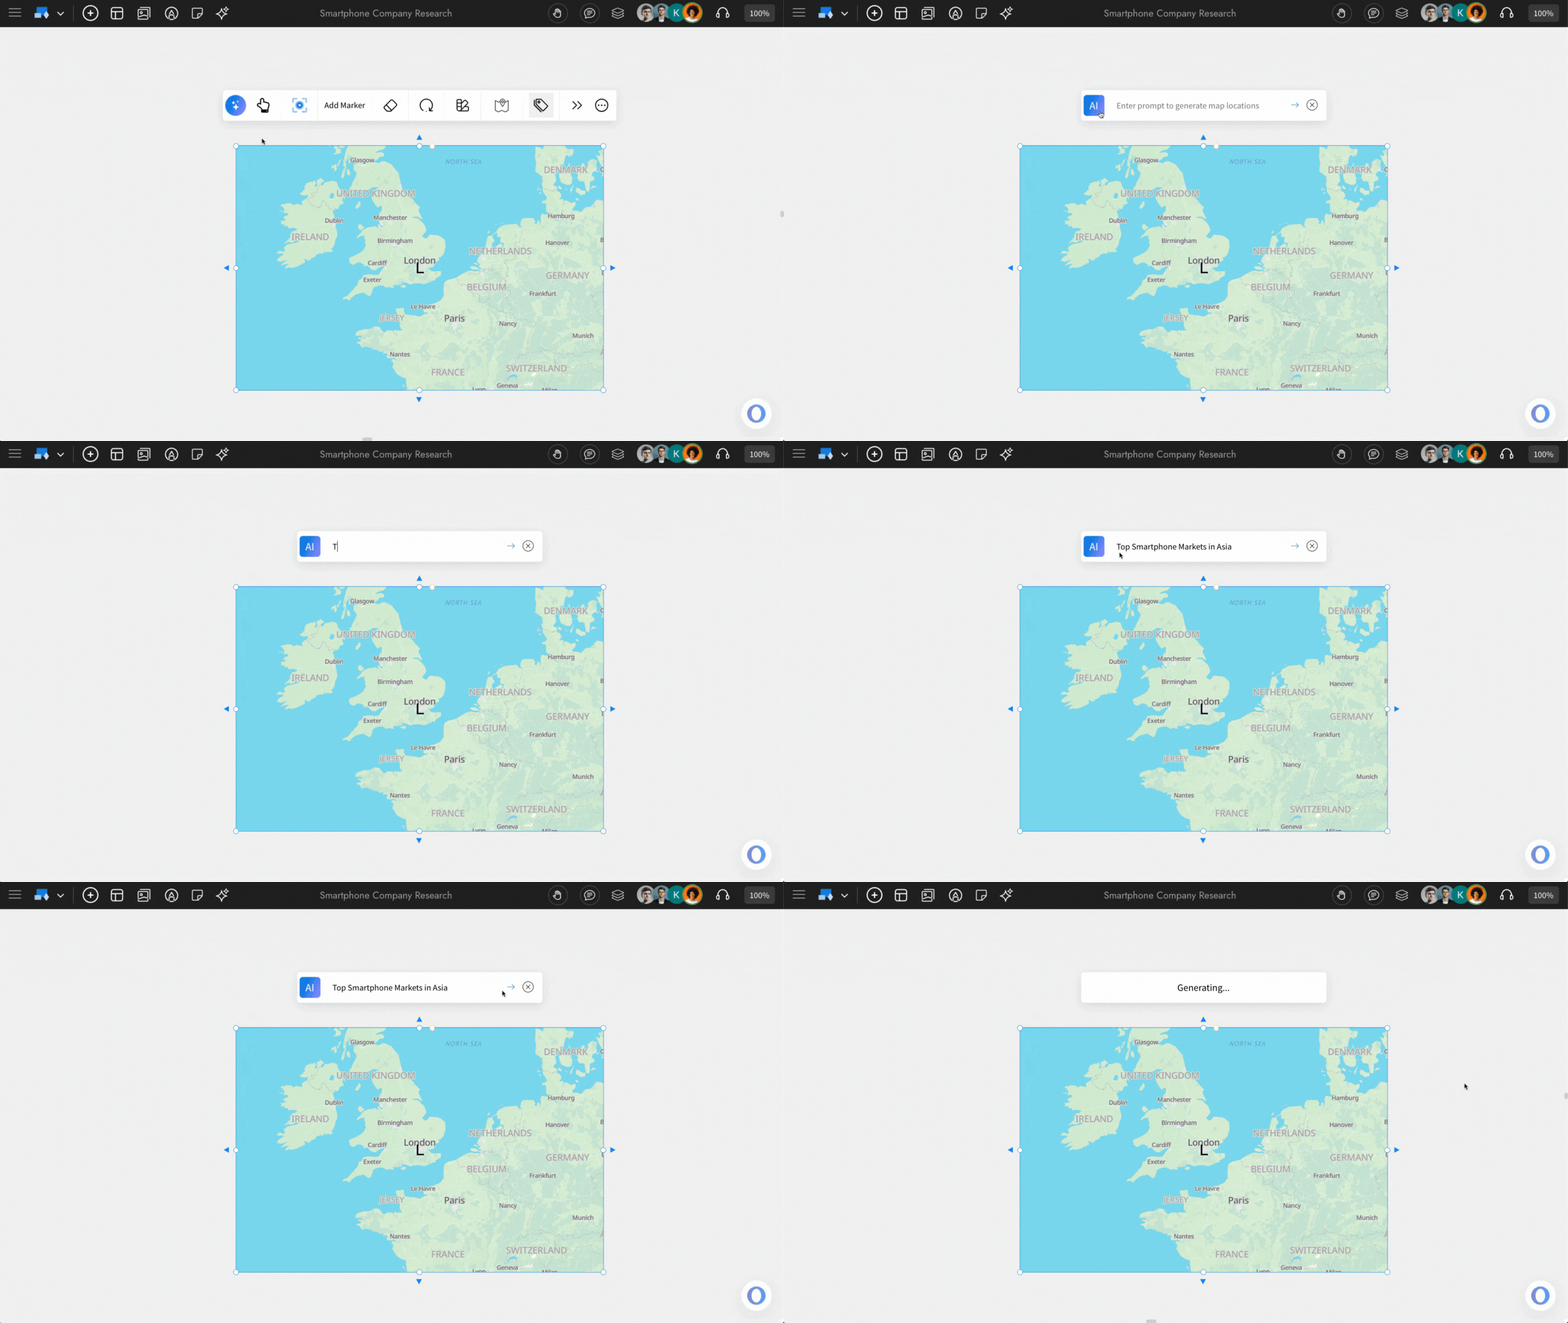
Generate locations with AI: You can generate specific map locations by entering a prompt in MockFlow Board AI. Simply click the AI icon from the quick toolbar, enter your prompt, and the map will be generated accordingly.
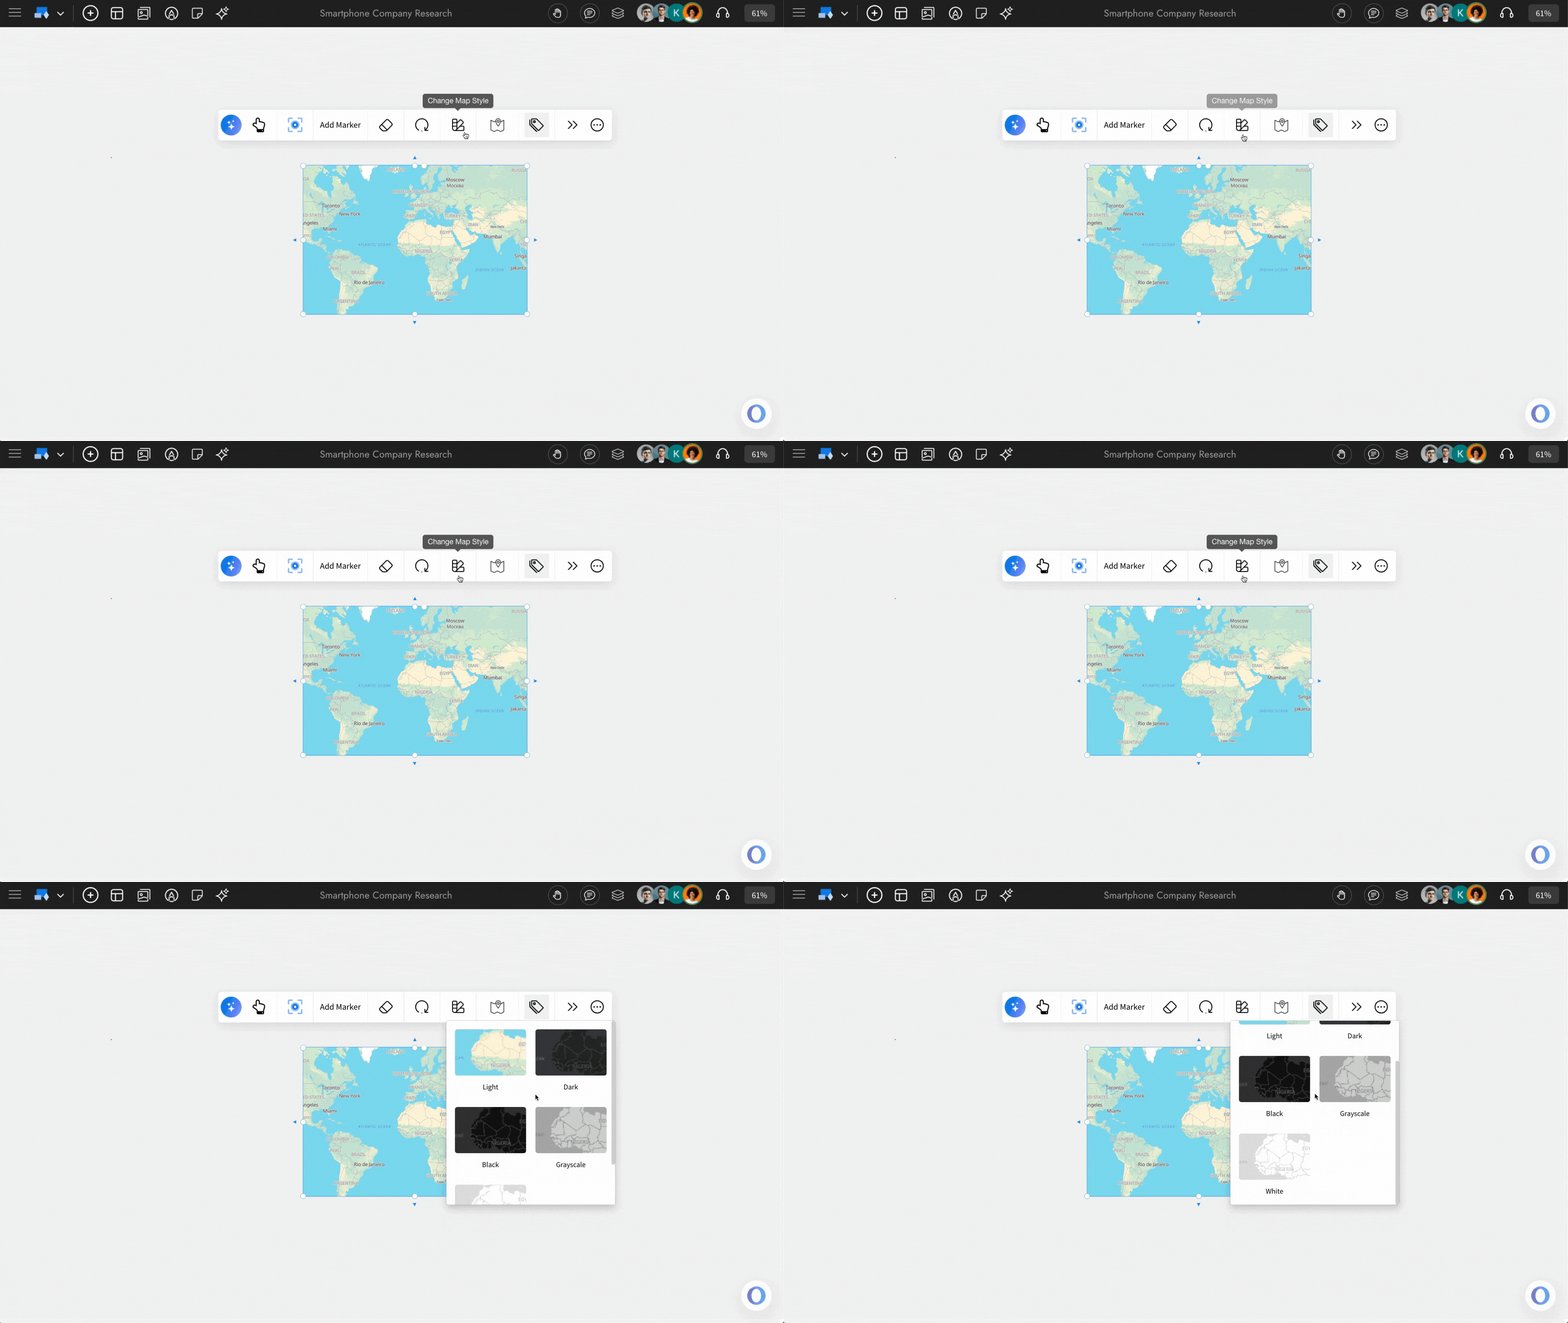
Customisation options
Changing Map Styles: You can change the theme of the Maps by clicking on 'Change Map Style.' And choosing one of your preferences.
Highlight the locations with Markers: You can highlight specific locations on the map using your preferred text or emoji. To do this, click ‘Add Marker’ from the quick toolbar.
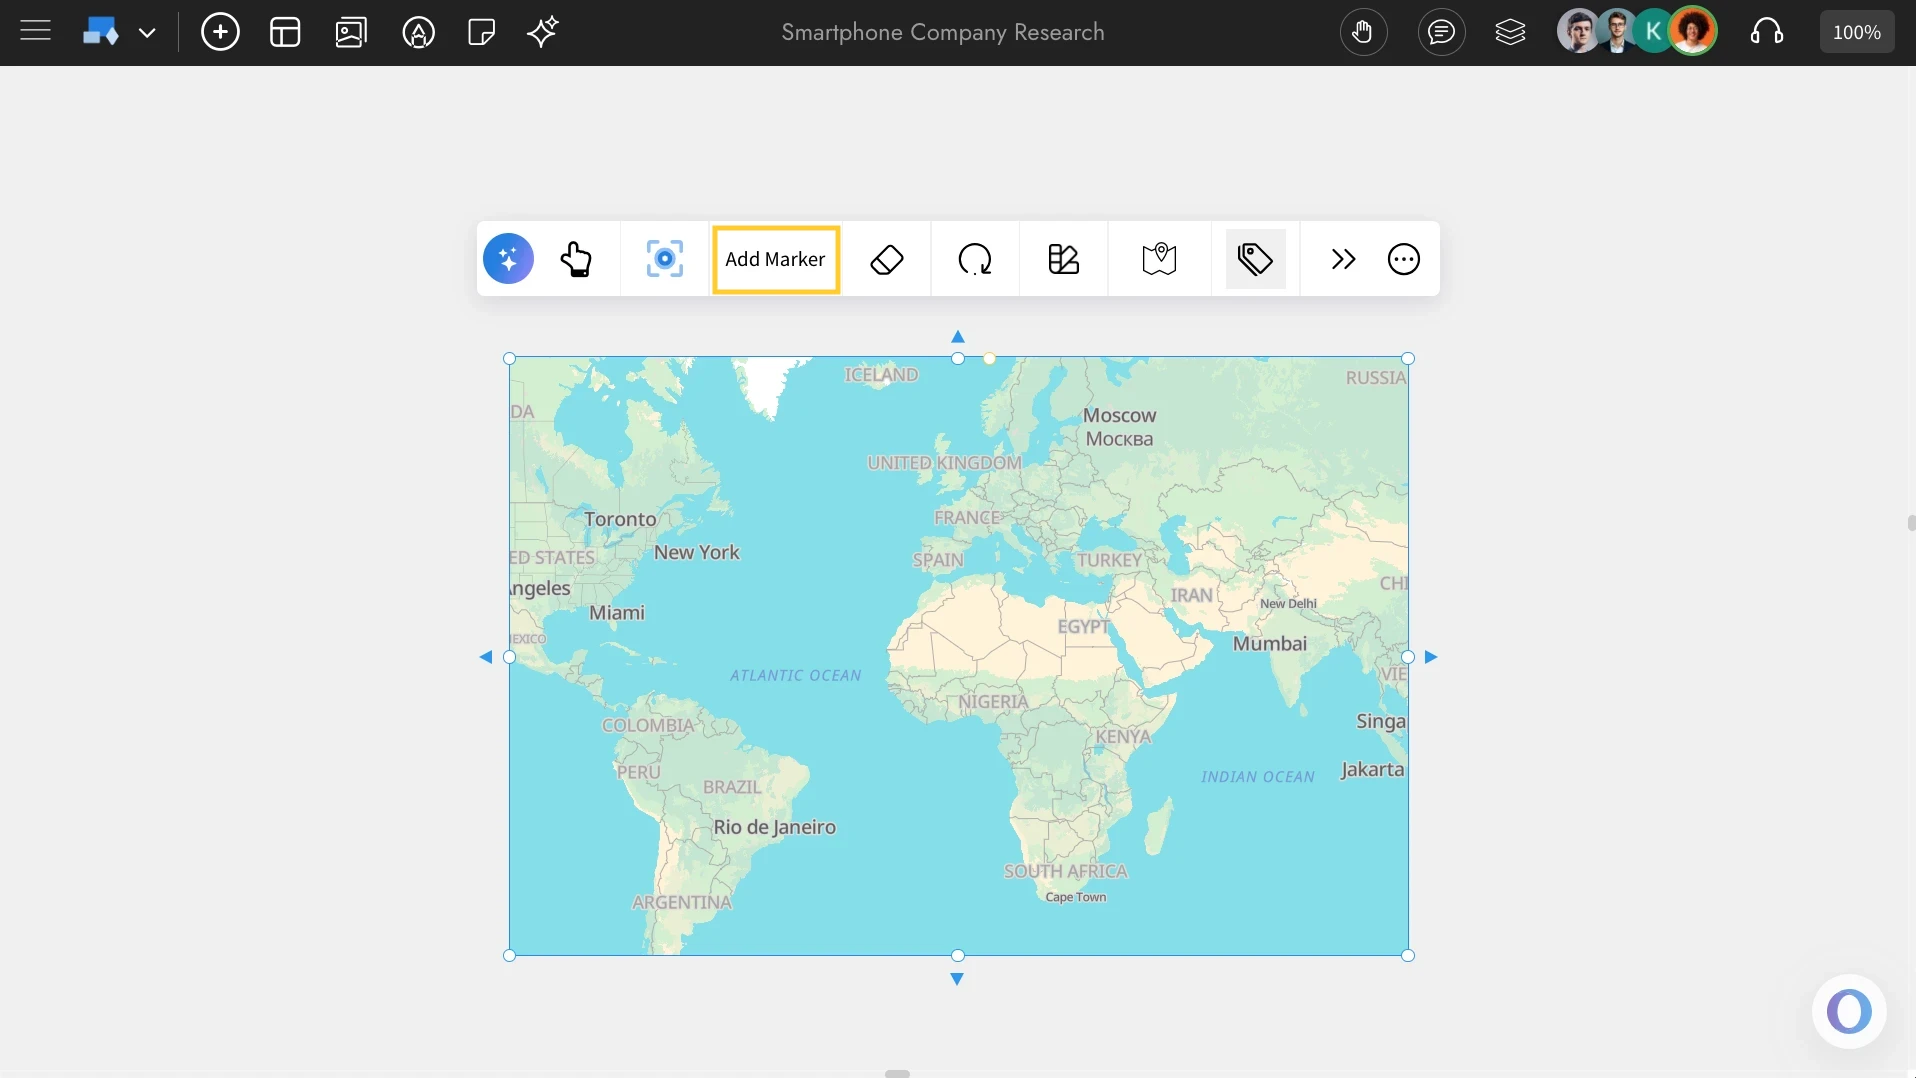
Enter the location name, marker details, and choose a marker icon. You can also use custom emojis or add text if needed. Once everything is set, click ‘Add Marker’ and the marker will be placed on the map.
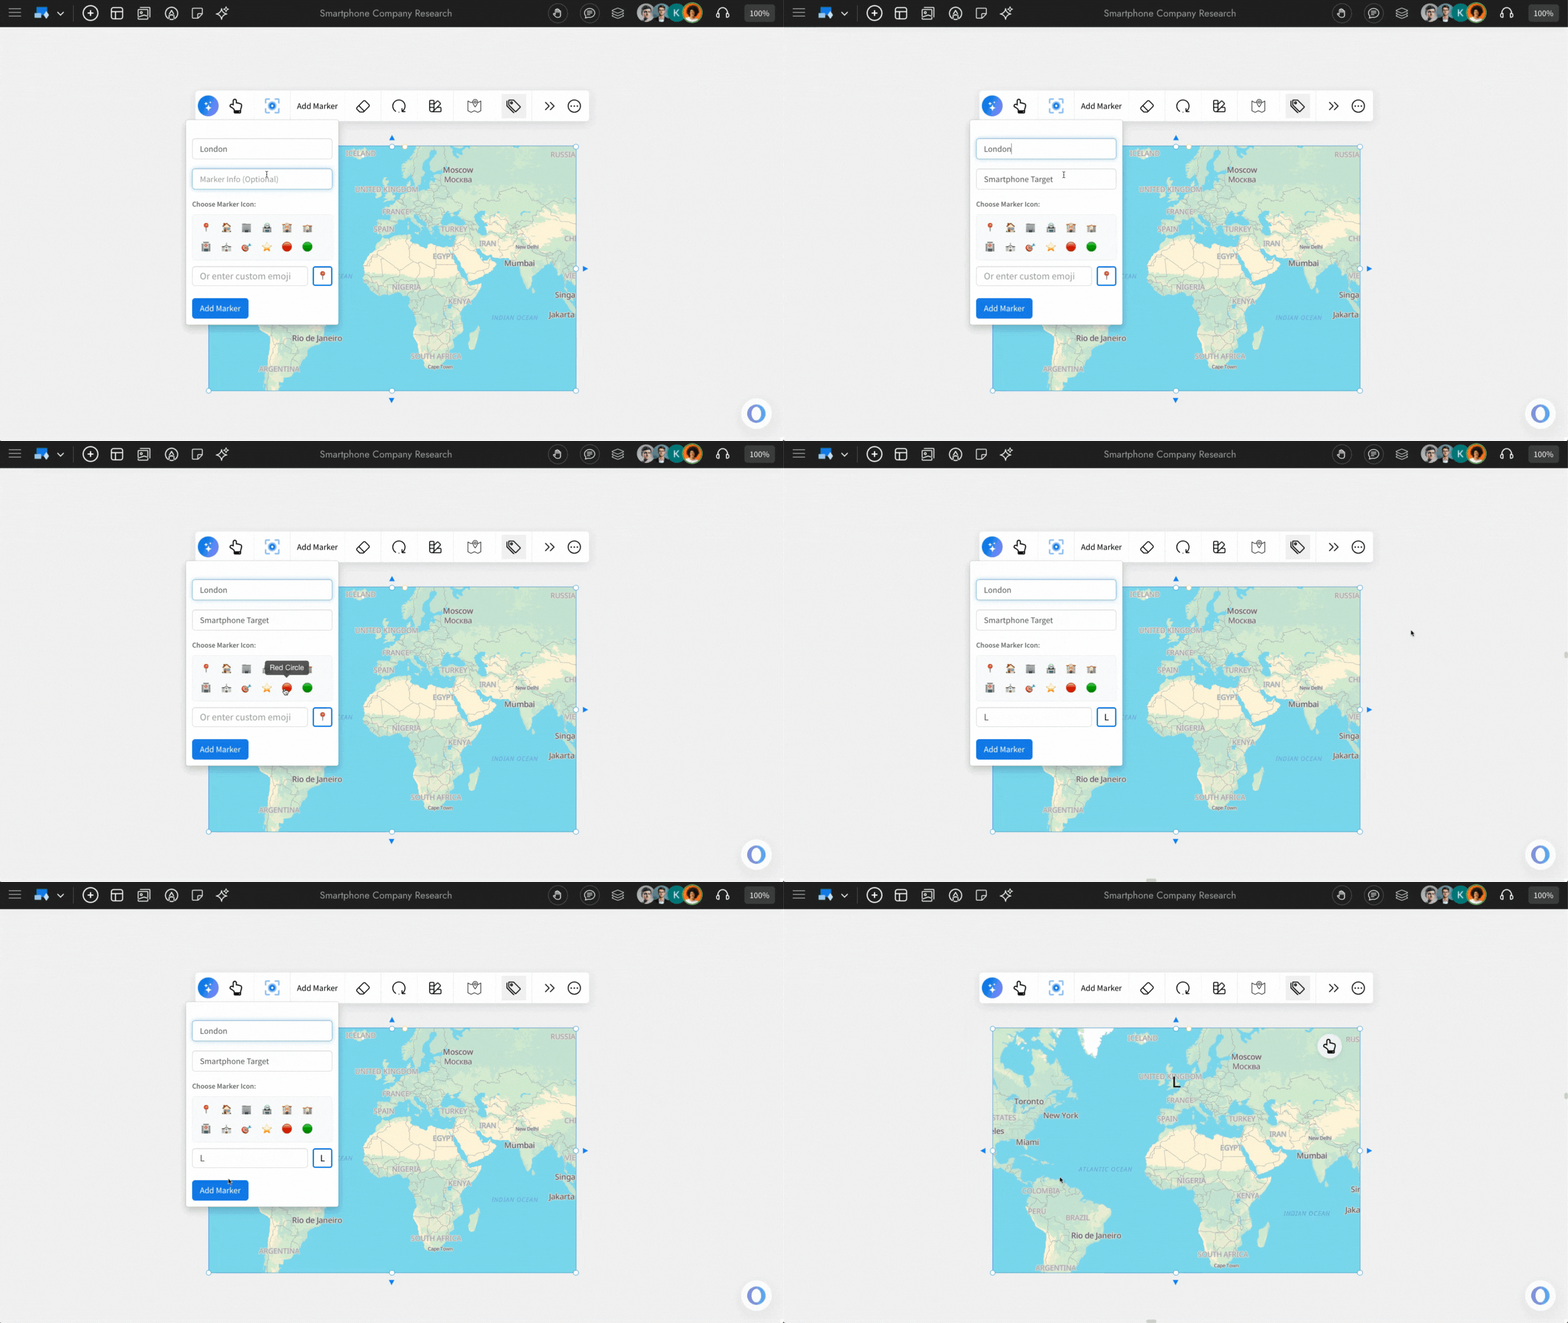
And you can remove the markers by using 'Clear all markers' from the quick toolbar.
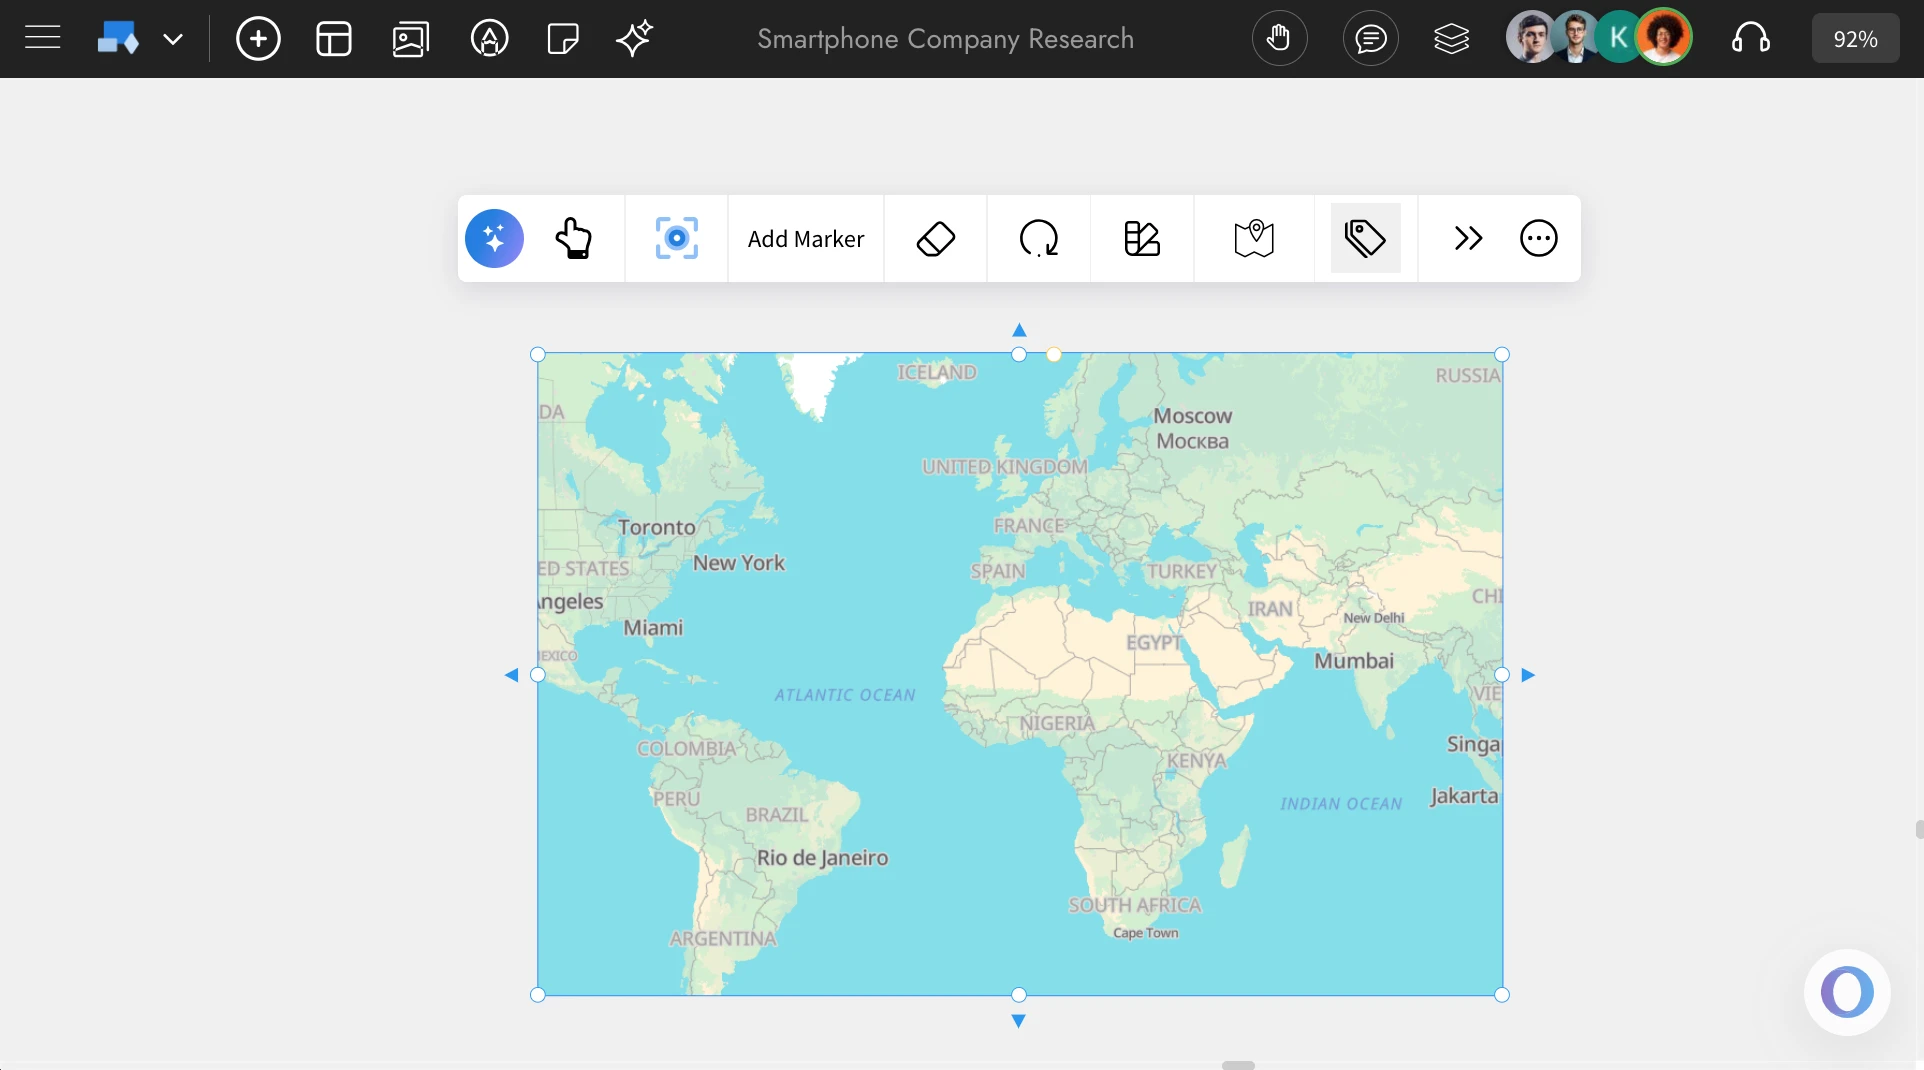
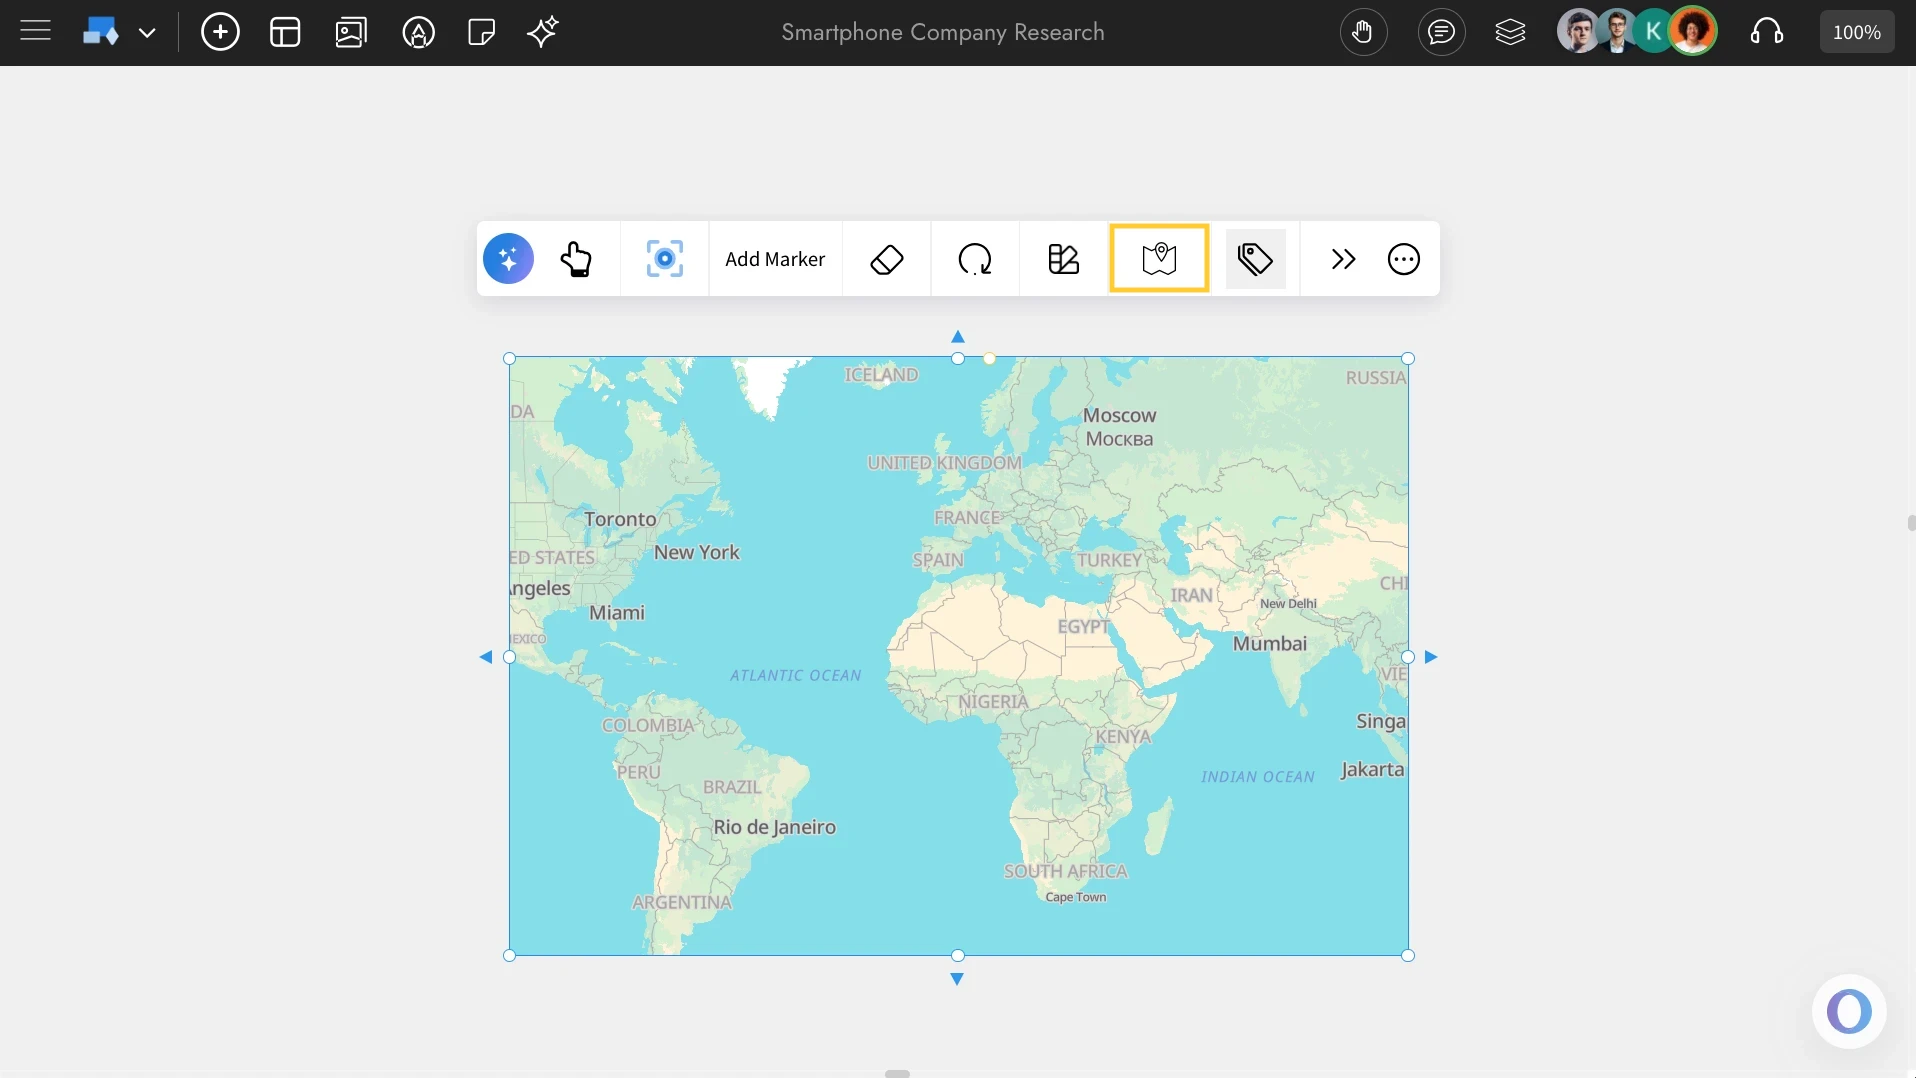
Changing the Maps projection: You can adjust the map’s projection using ‘Change Map Projection’. You’ll find two options available: Flat and Globe.
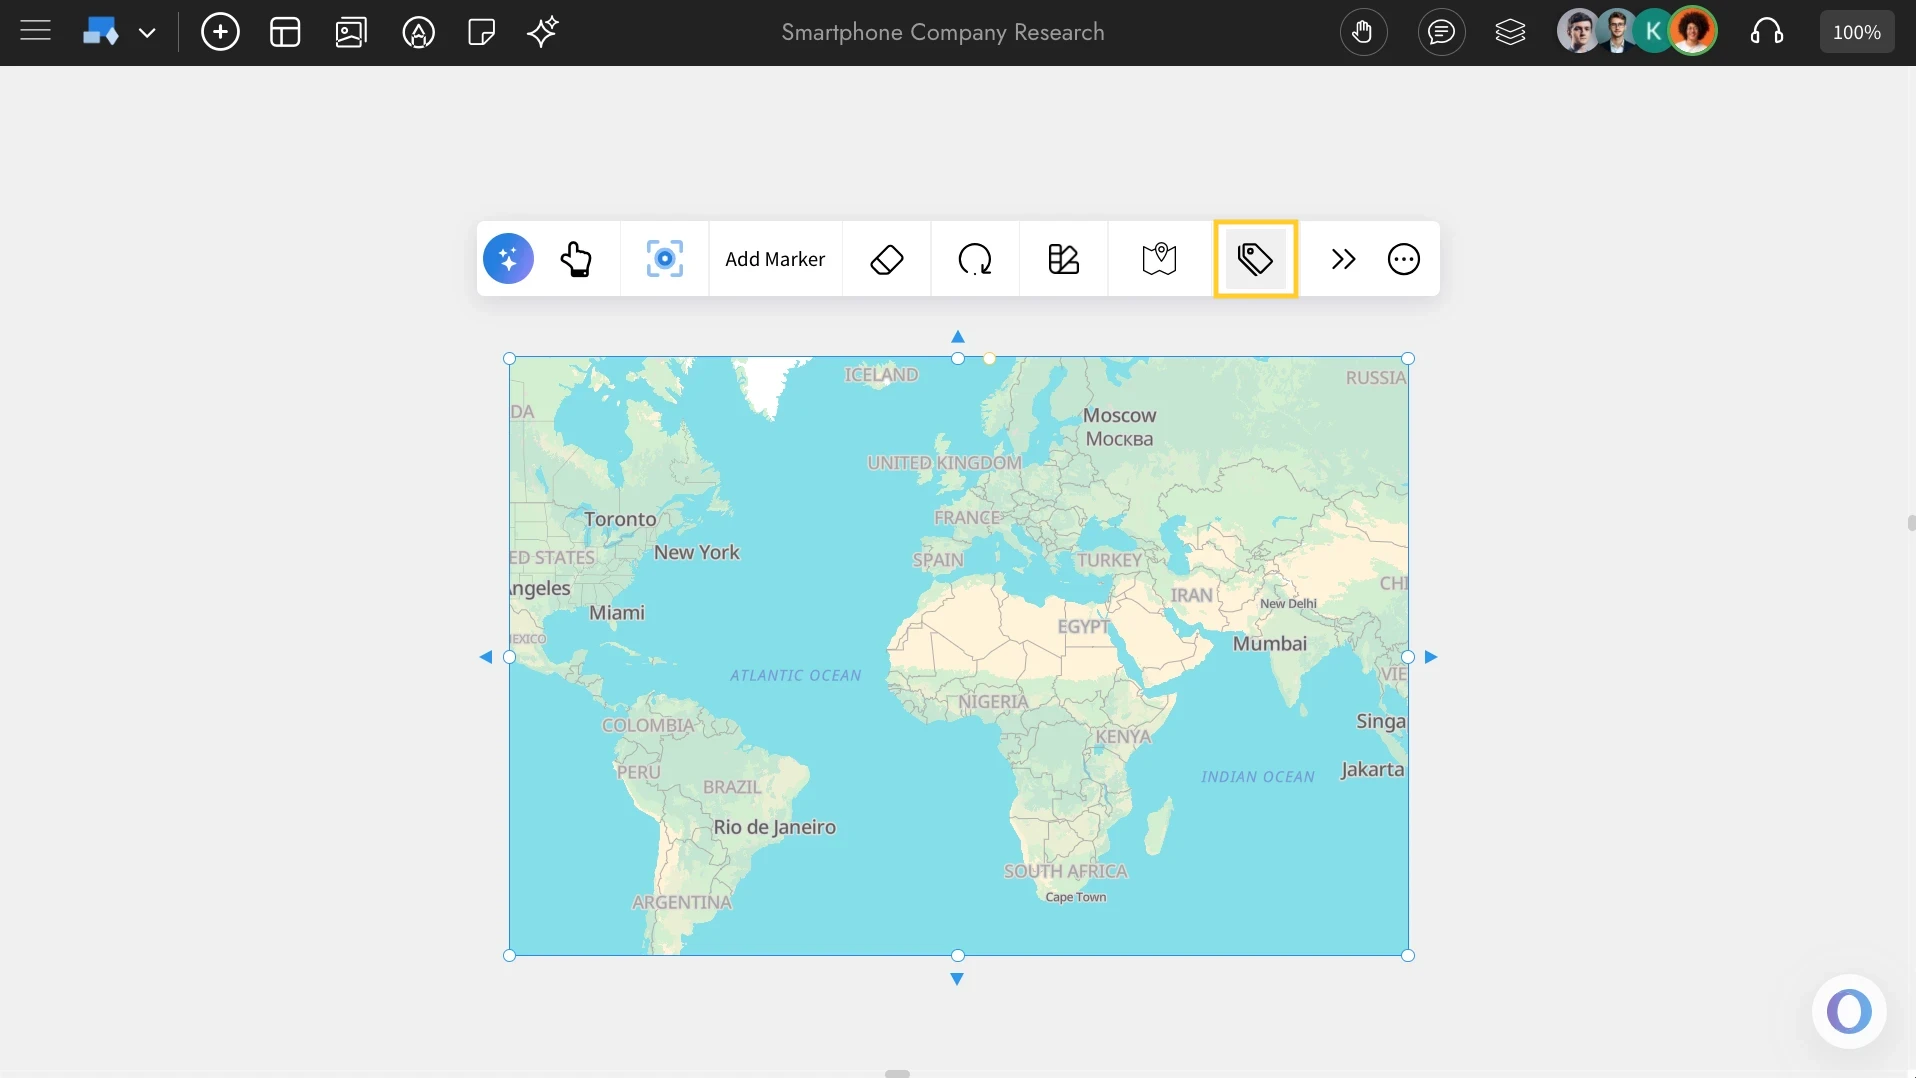
Enable Map Labels: Use the 'Toggle Map Labels' feature to show and hide labels (Locations) in the Maps component.
Interacting with the Component: You can use the ‘Interact with Component’ option to enable interaction with the Maps component. Once enabled, you’ll be able to freely move and explore the map within the component.
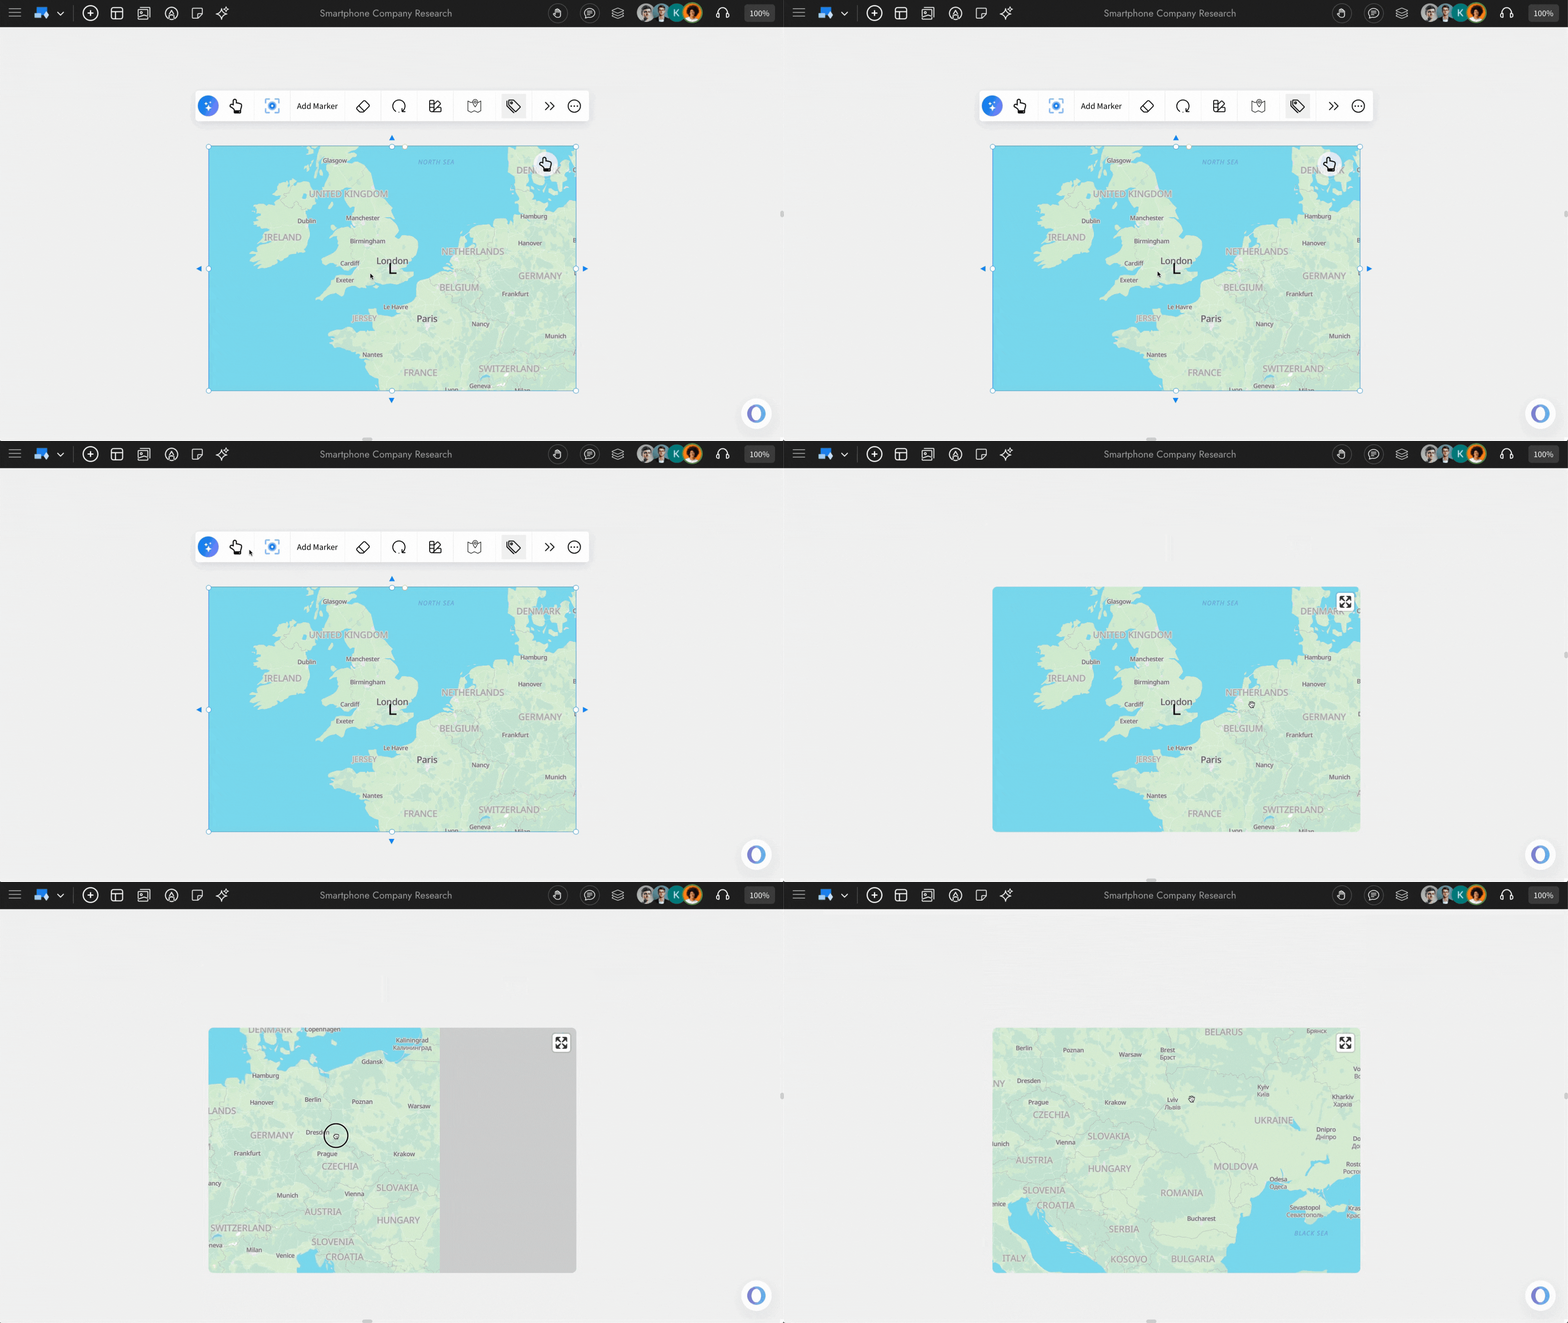
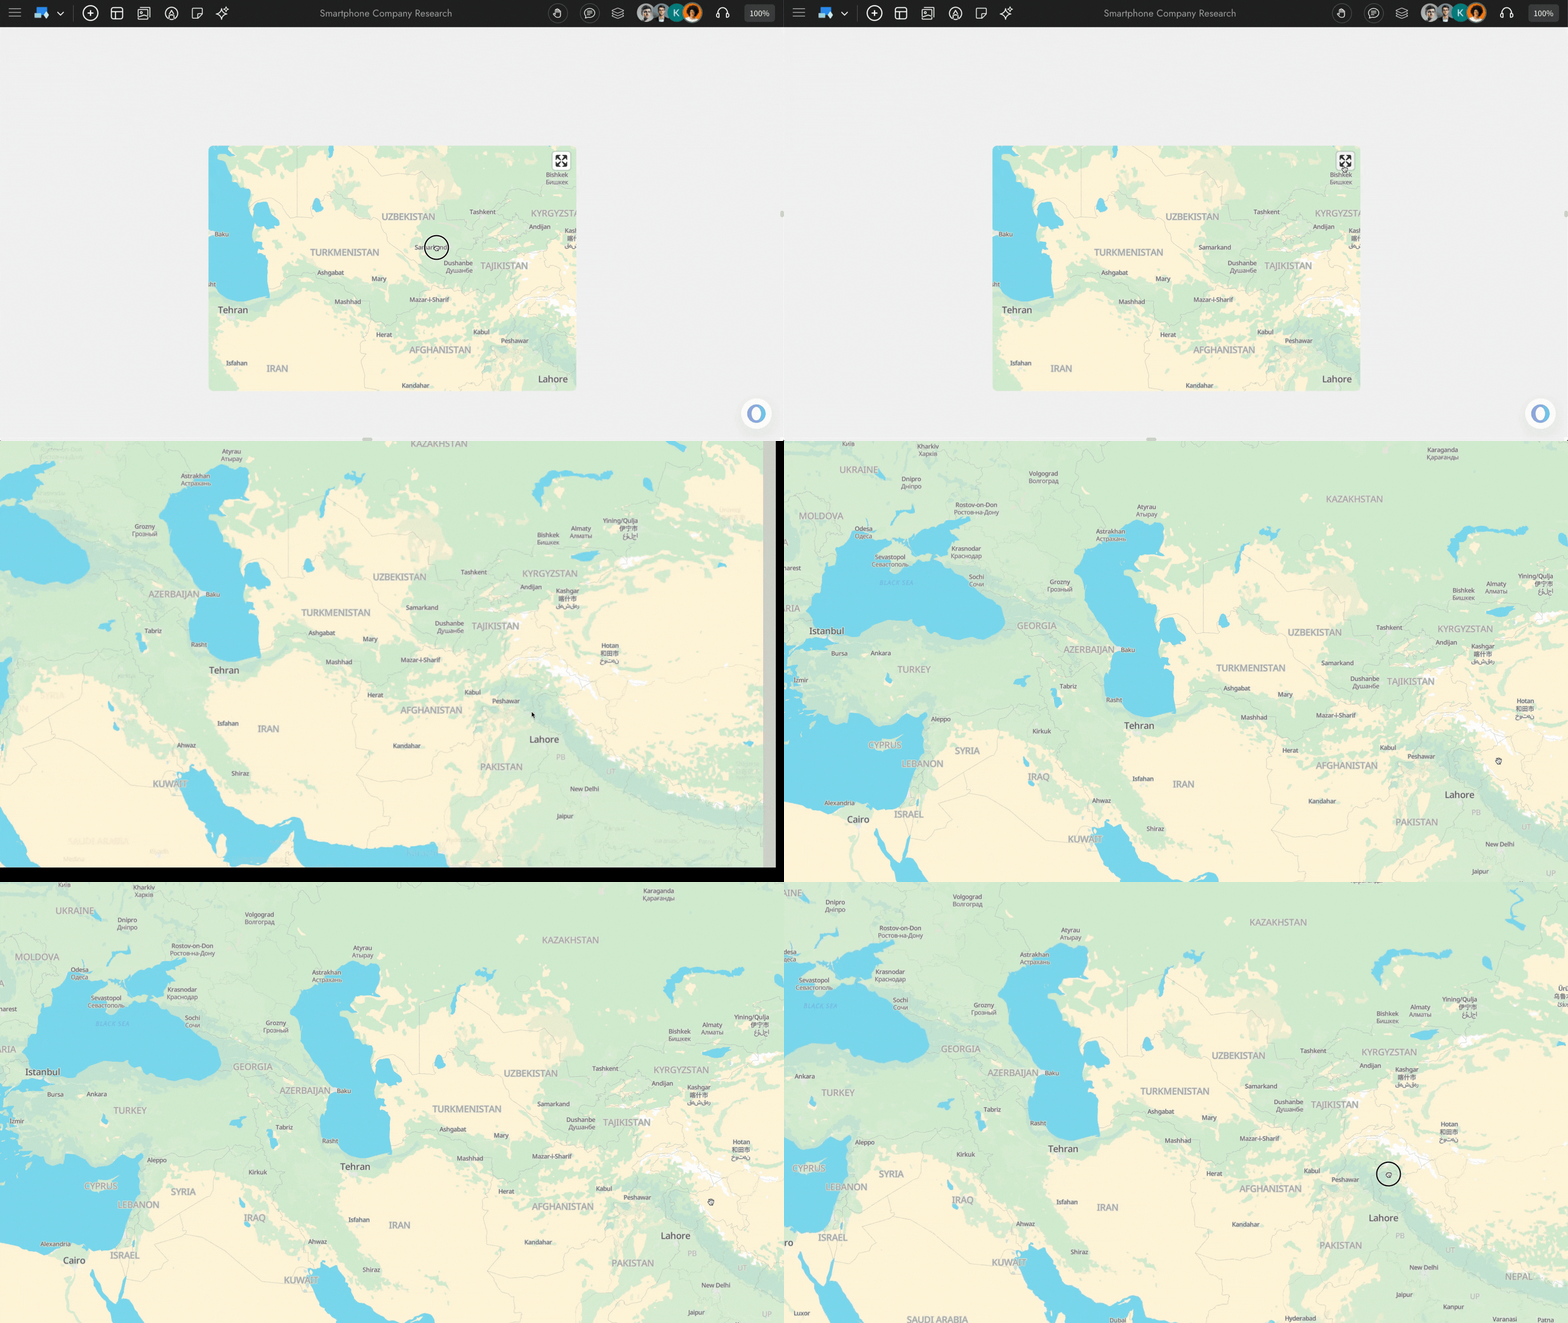
Additionally, you can enable full-screen interaction by clicking on ‘Enter Full Screen’.
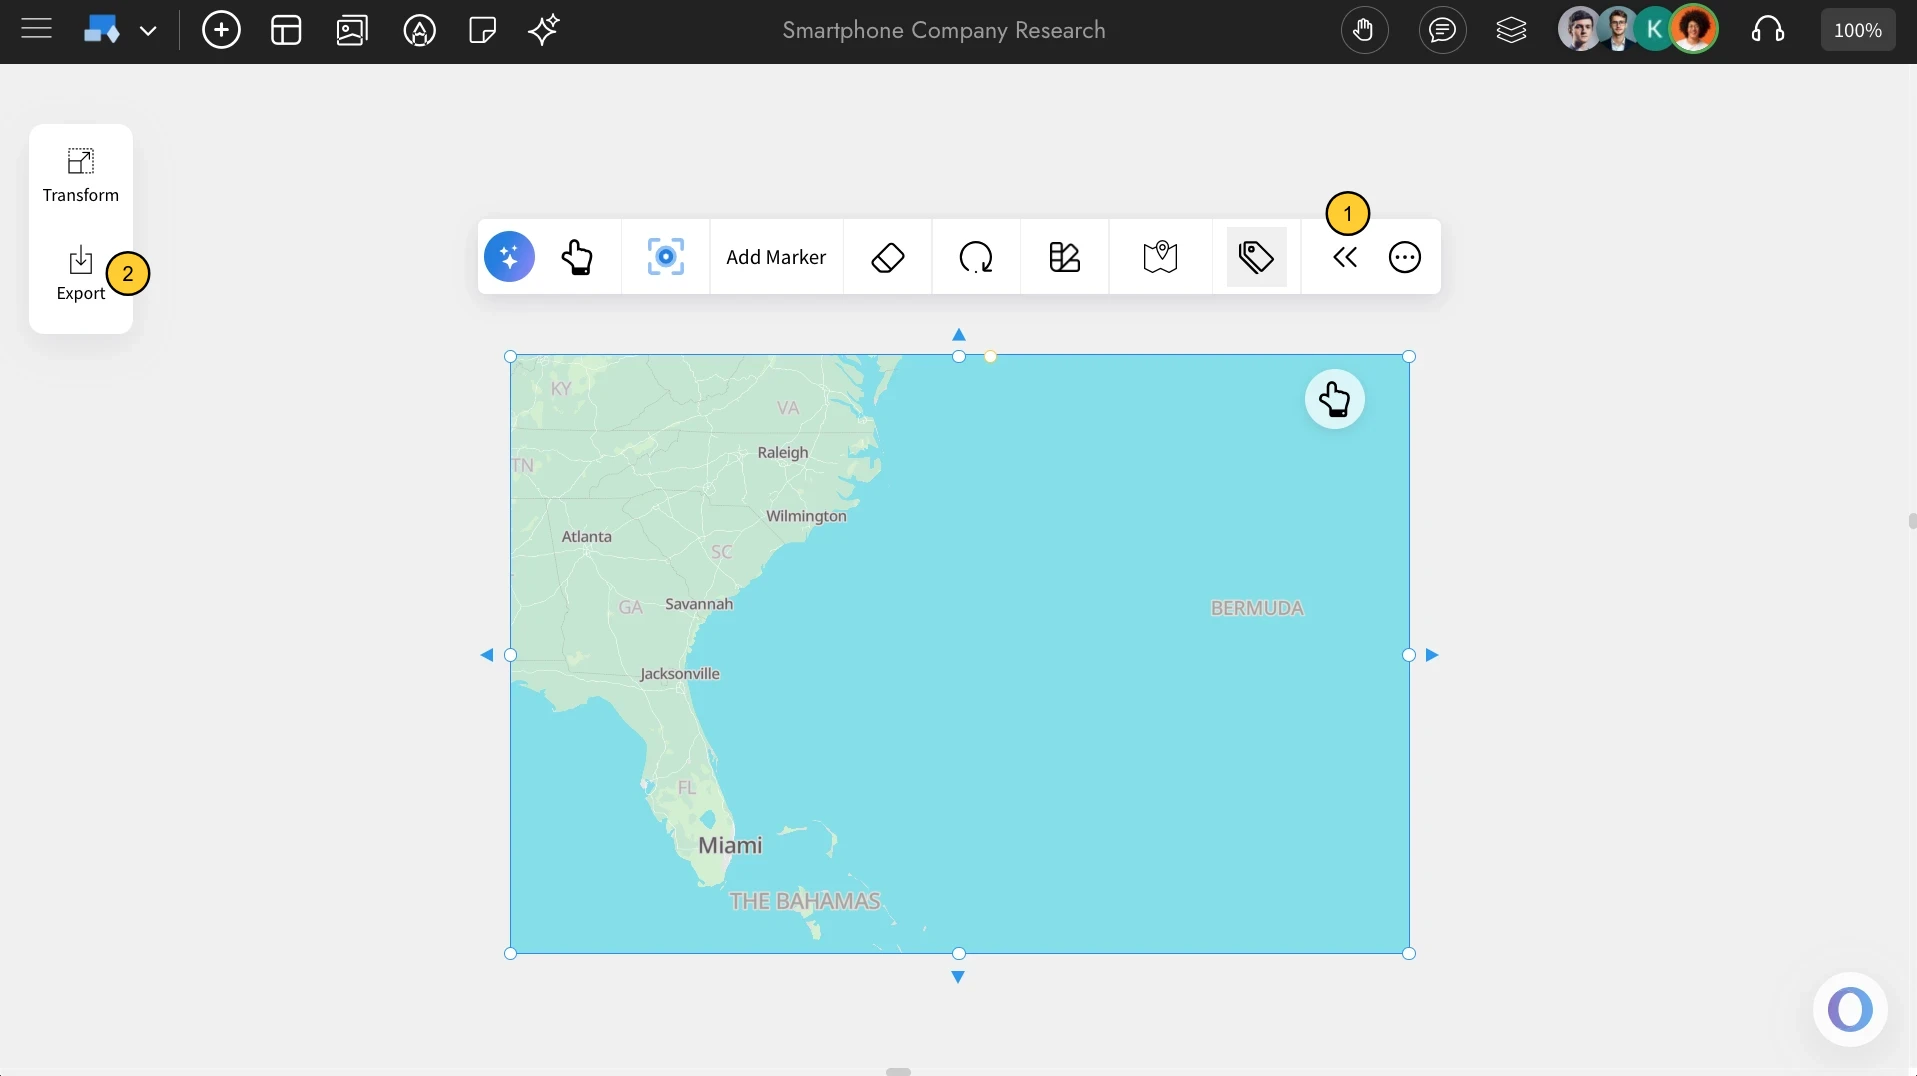
Accessing the Advanced Settings for Maps: To access the advanced settings toolbar, click on the 'Toggle Advanced Settings' option from the quick toolbar. You can find advanced options to export the Map component.
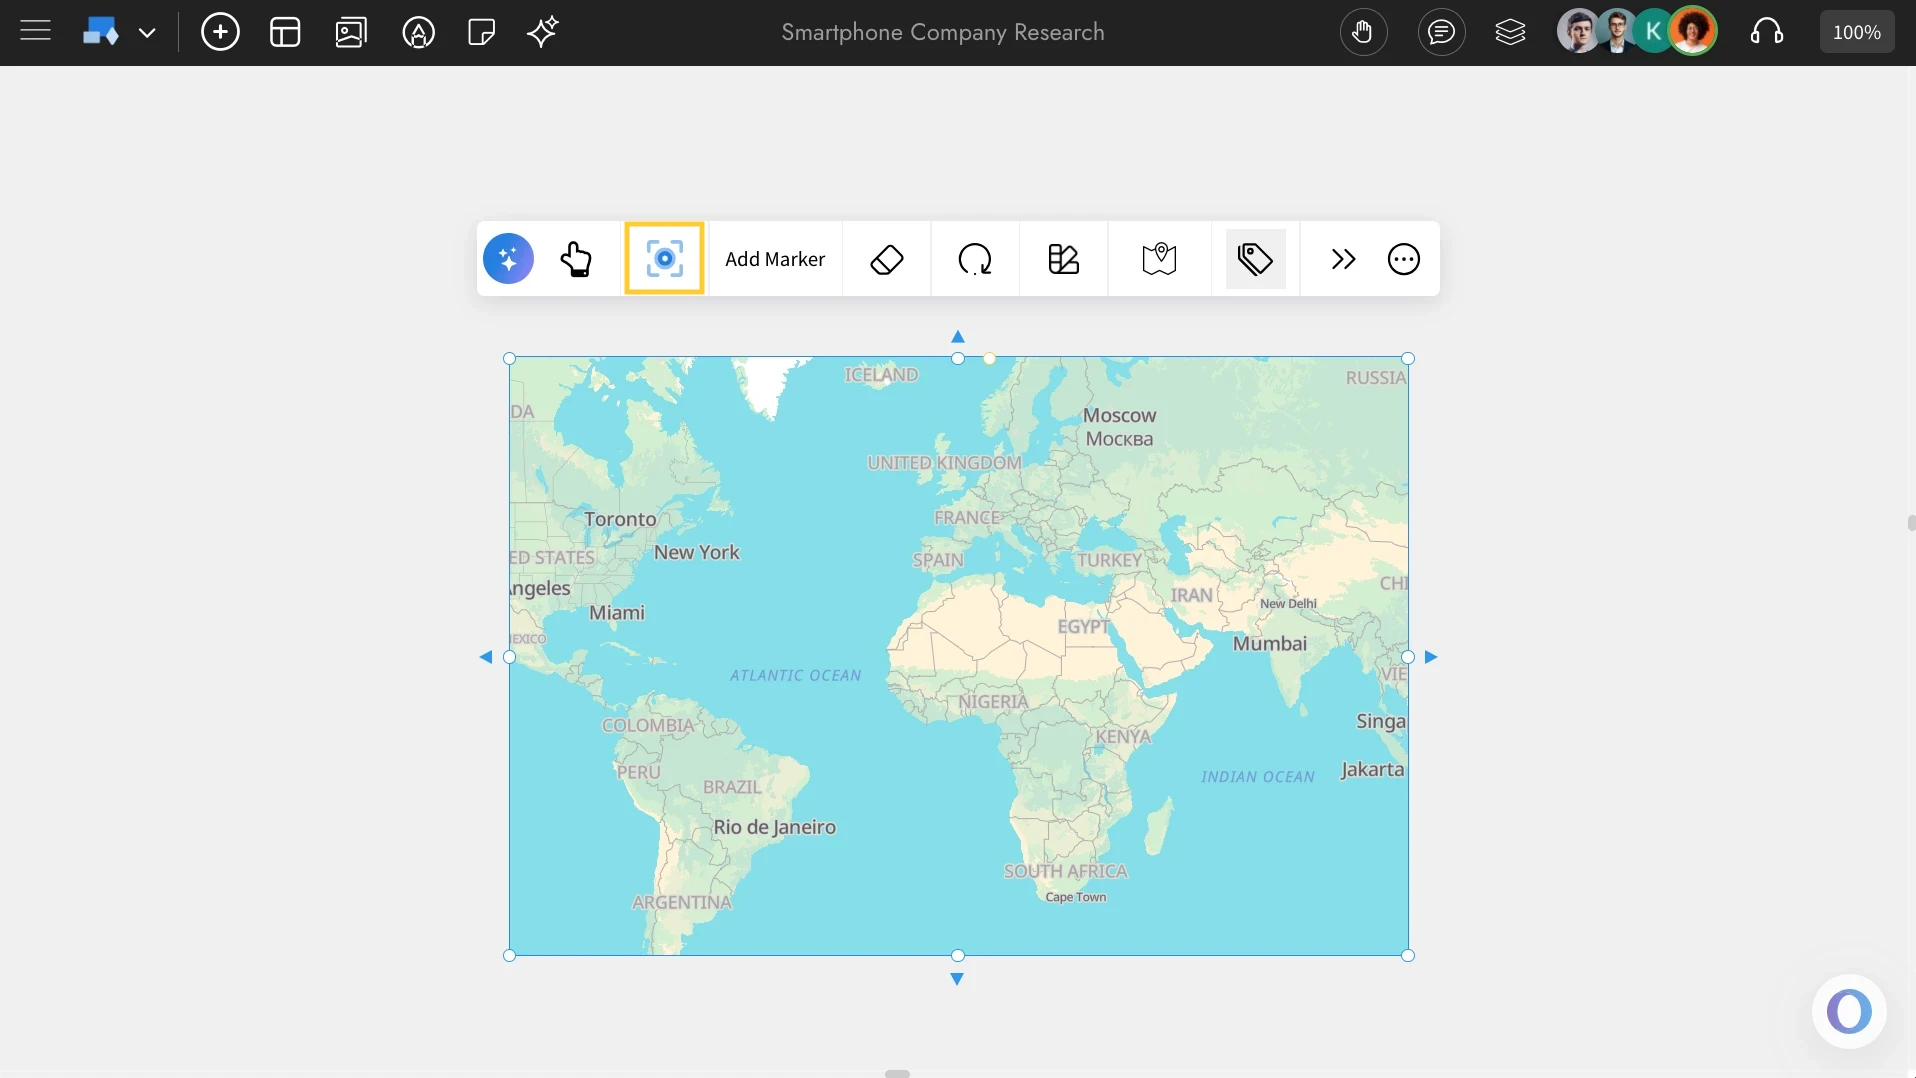
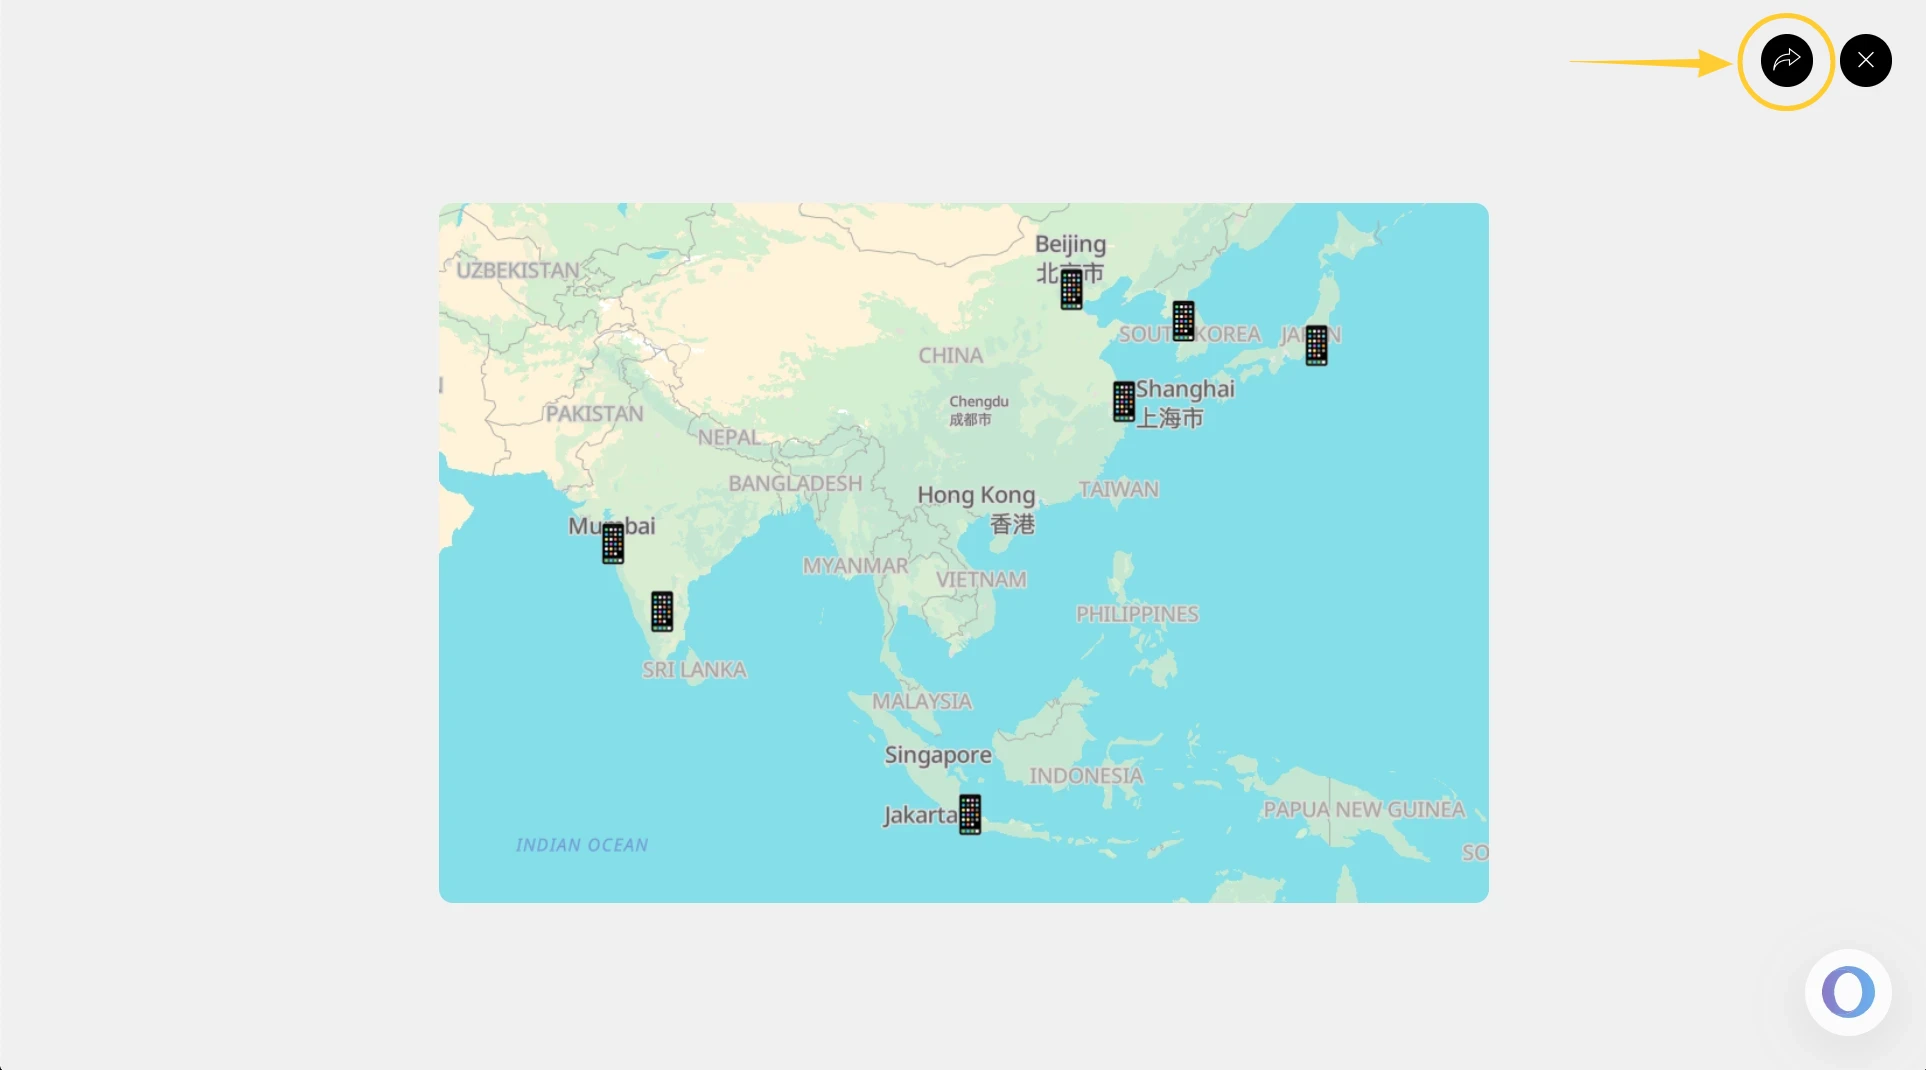
Using the Focus mode: There’s a Focus Mode that hides all other components and highlights only the map you're editing. Click the 'Focus' icon in the quick toolbar to enable it, and click the Close icon at the top-right to exit.
Share component link with team: In focus mode, at the top right, there is a share icon next to the close icon. Click on this share icon to copy a unique link for the component view to share directly within your team.
Use Cases of the Map Component
Market Planning: Visualize expansion opportunities, target cities, and regional strategies.
Education & Research: Create interactive geography or data maps for learning and presentations.
Event Mapping: Plan global events, tours, or campaigns with clear location markers.
Team Collaboration: Coordinate remote teams and regional activities on a shared map.
Travel & Exploration: Design travel itineraries or visualize destinations with 3D globe views.