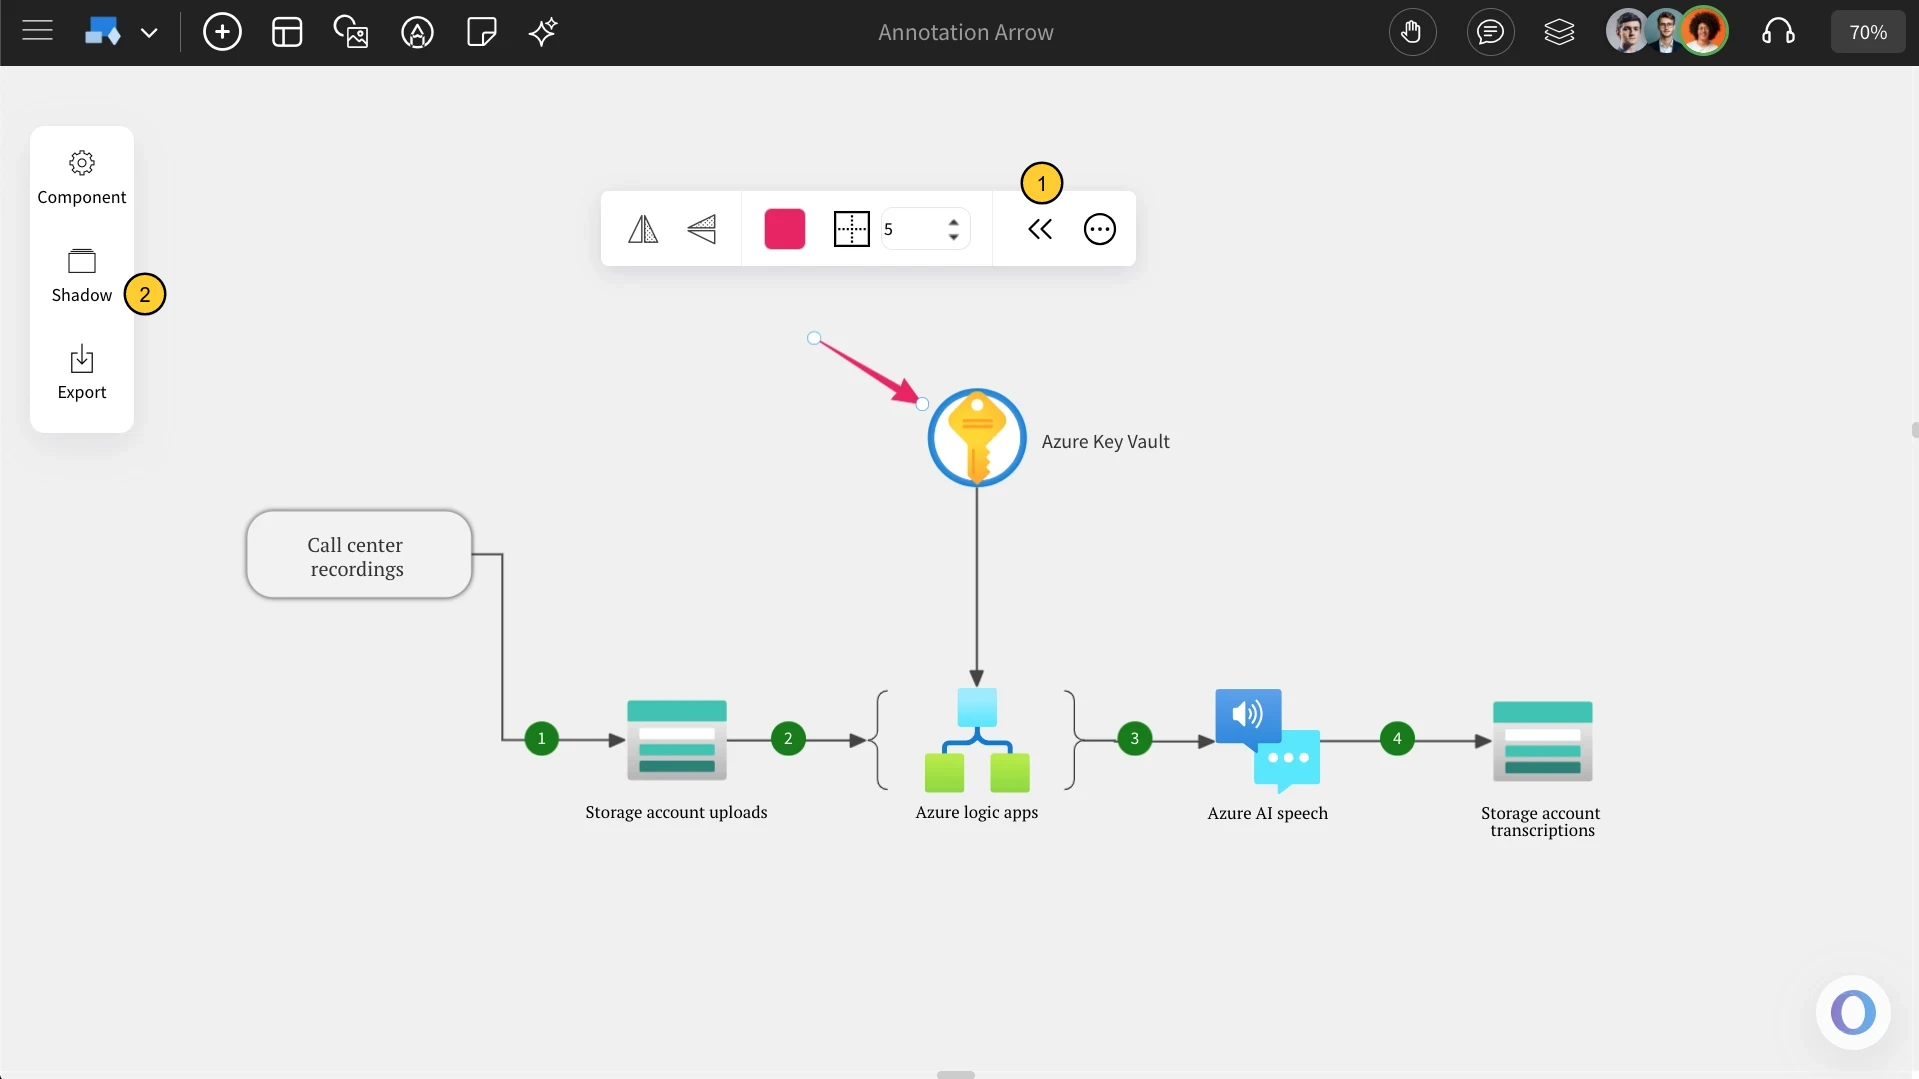
Annotation Arrow
Learn how to use the Annotation Arrow component in MockFlow Board to point out important details and improve visual clarity.
The annotated arrow helps in highlighting important details without cluttering the workspace. This feature improves visual communication, ensuring messages are conveyed precisely.
How to add an Annotation Arrow?
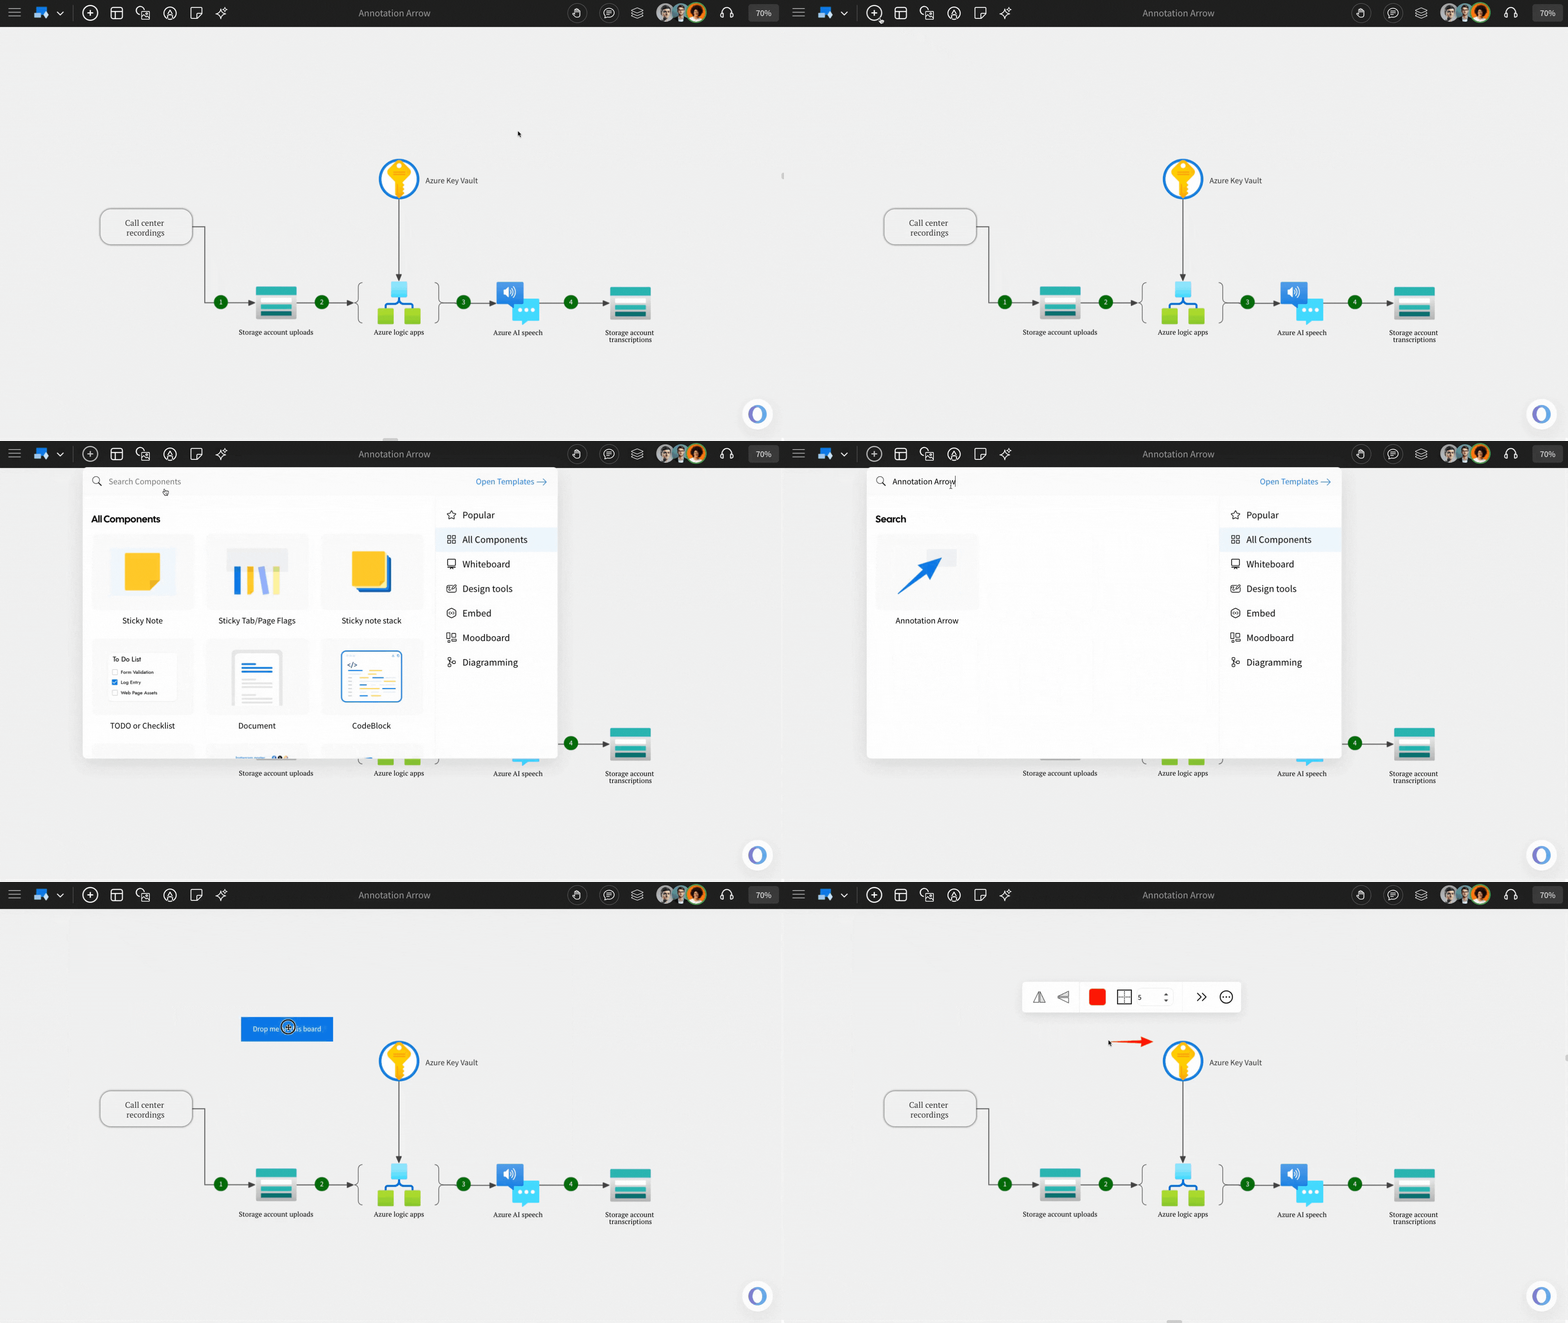
Click on the 'Add' icon on the board, locate 'Annotation Arrow,' and drag it onto the canvas.
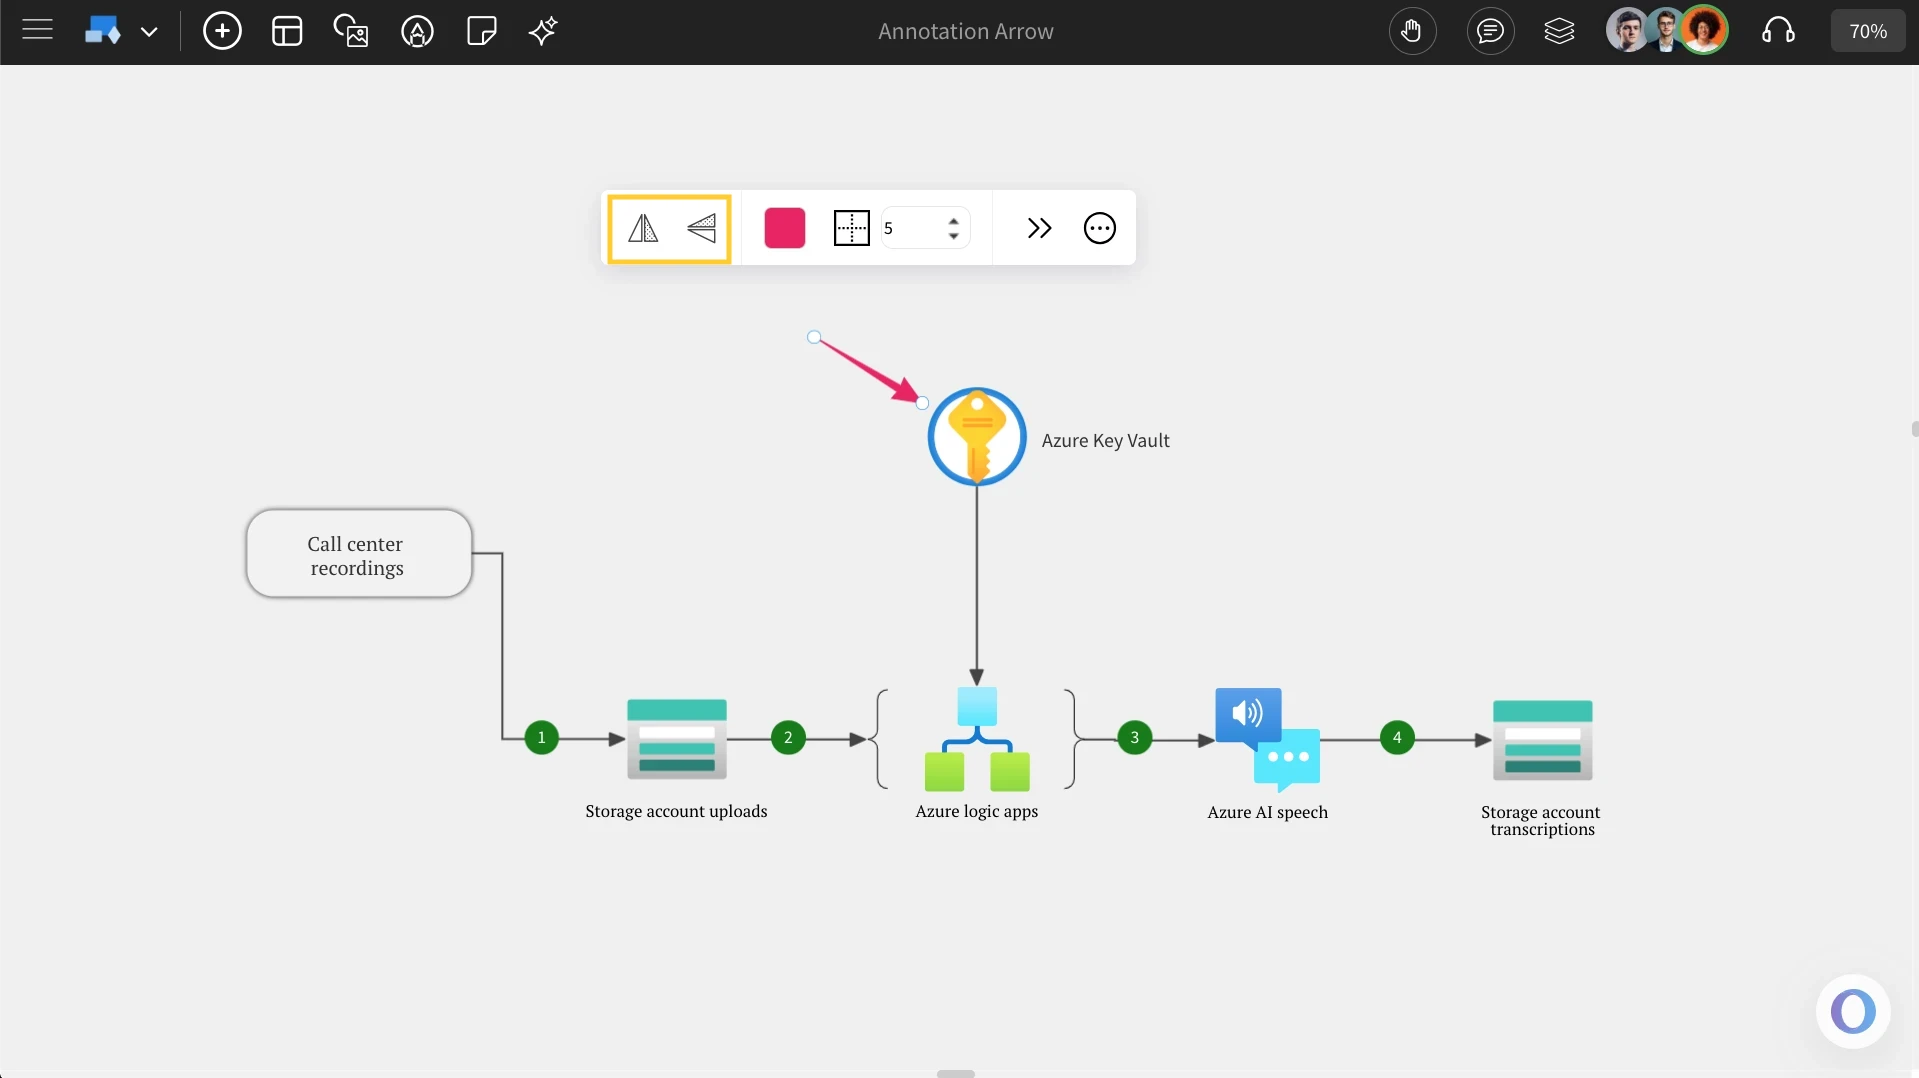
Changing Arrow directions: By using these options, you can set the arrow direction to horizontal or vertical.
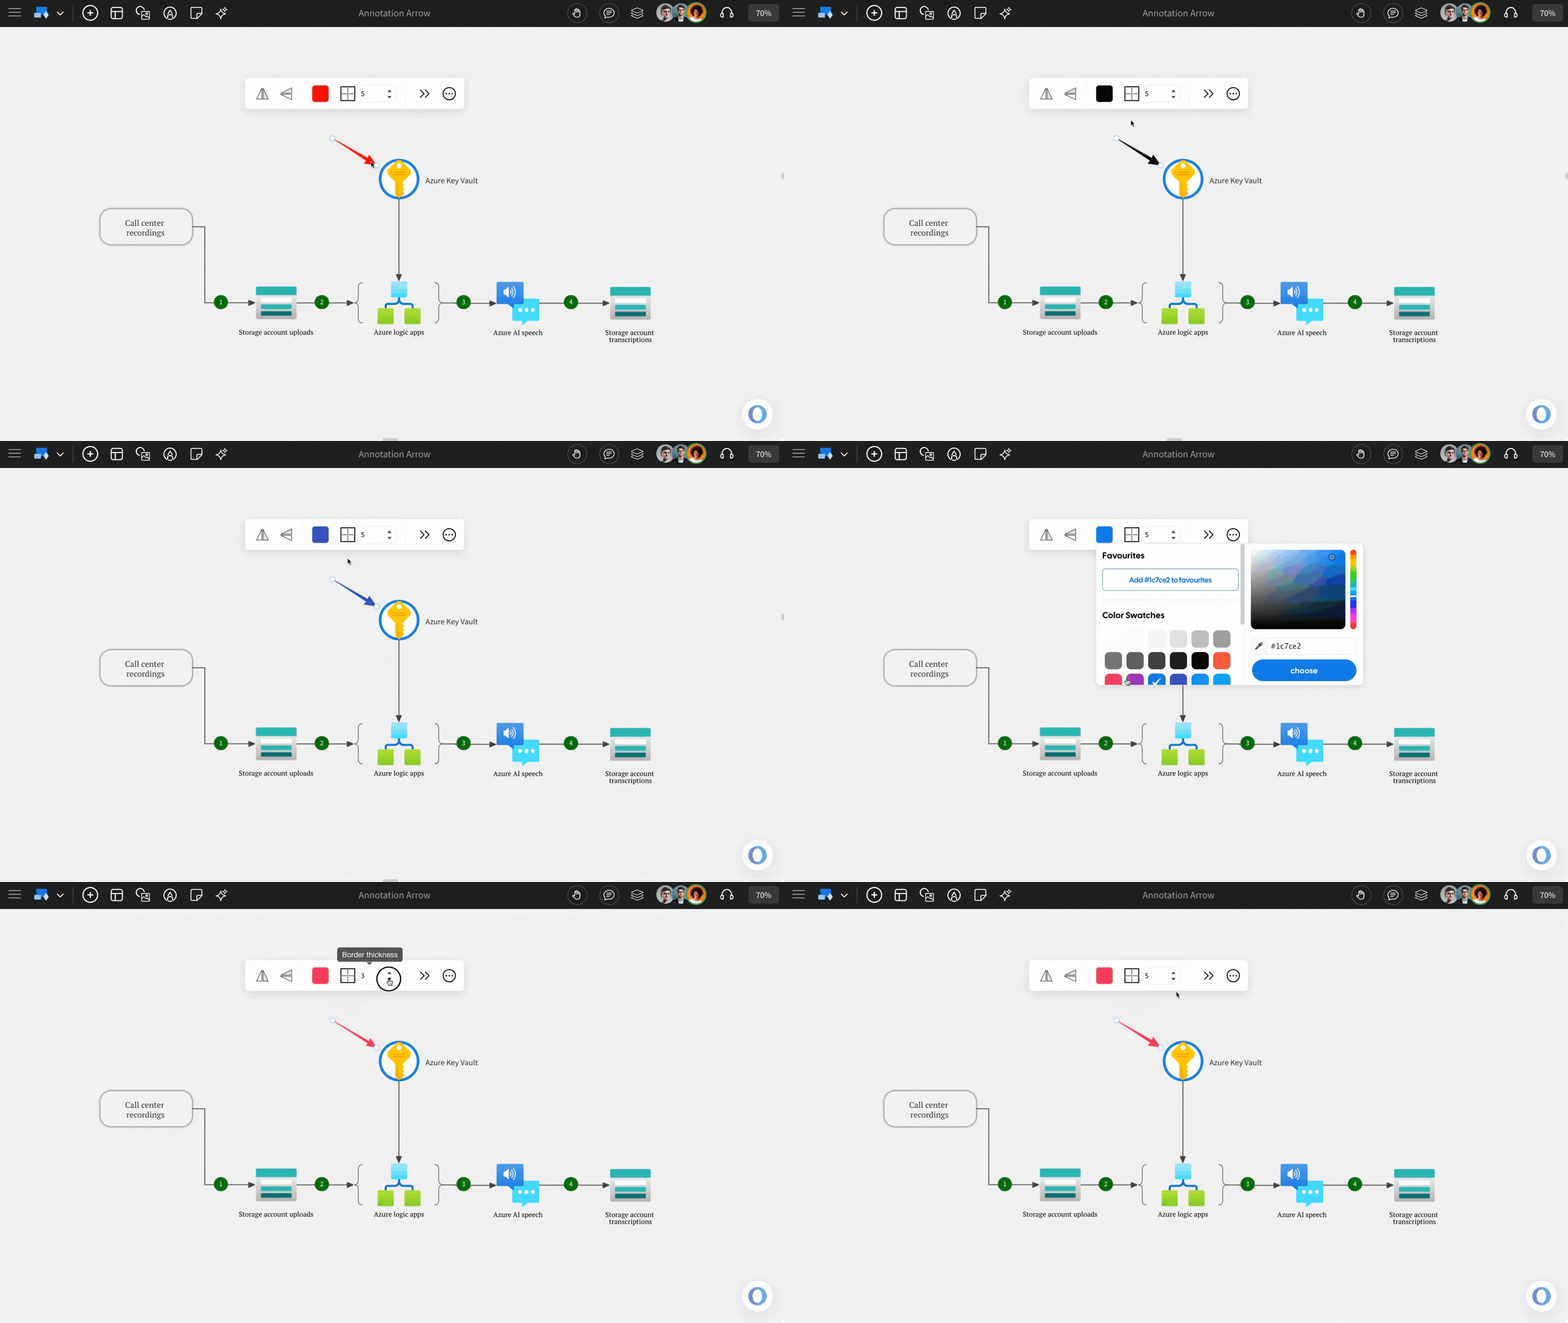
Customizing Arrows: You can click the arrow and adjust the 'Border Color' and thickness directly from the quick toolbar.
Enable Toggle Advanced Settings: By enabling 'Toggle Advanced Settings', you can use the 'Components' option to customize the arrows, which provides options like component settings & shadow settings.