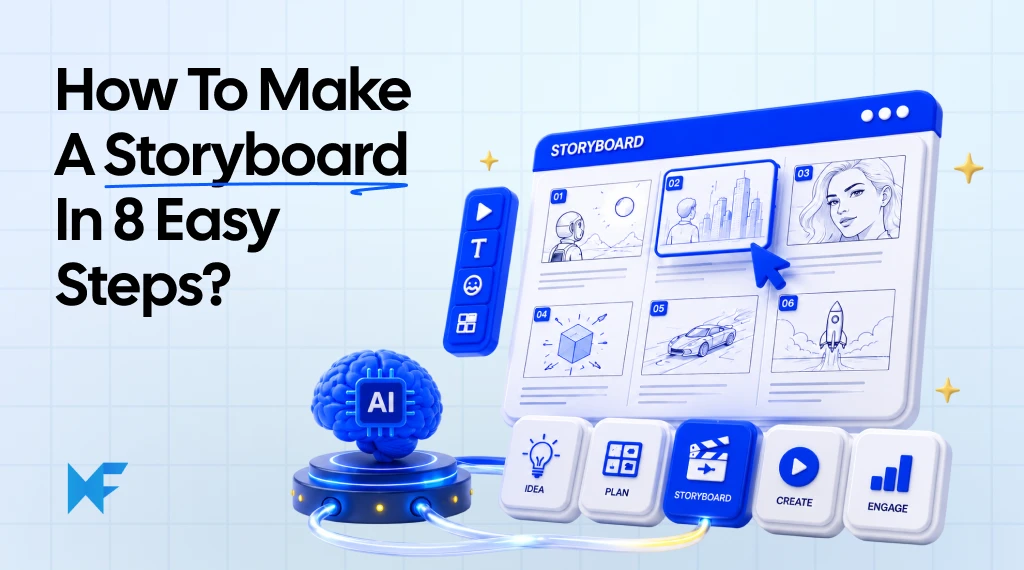
How to Make a Storyboard? A Step-by-Step Guide for 2026
TL;DR A storyboard is a visual plan that breaks a story, video, animation, scene, or user journey into ordered frames. To create one, define the goal, break the idea into scenes, arrange the shot sequence, sketch rough frames, add notes for action and dialogue, then review and refine before production. |
A story can feel clear in your head until production begins. Scenes shift, shots get missed, transitions break the flow, and feedback arrives too late.
That is why storyboarding matters. It turns a story, video, animation, product journey, or scene into a clear sequence of visual frames before execution begins. Each frame shows what happens, what the viewer should notice, and how one moment leads to the next.
In this guide, you’ll learn how to make a storyboard step by step, what to include in each frame, and how IdeaBoard helps you plan faster with AI, templates, and visual collaboration.
How to make a storyboard step by step in IdeaBoard
Creating a storyboard before production helps you catch missing scenes, unclear actions, weak transitions, and pacing issues early. It gives everyone a shared visual plan before time, budget, or team effort is committed. In IdeaBoard, you can build that plan on one canvas, then move from rough idea to storyboard frames, notes, review, and handoff step by step.
Step 1: Define the story goal
Start with the purpose before you create frames. A storyboard should make the idea easy to understand for the people who will produce, review, or approve it.
Before opening the board, define:
Planning Point | What To Decide |
Target Audience | Who the story is for |
Main Message | What the viewer should remember |
Desired Outcome | What action or understanding you want |
Project Format | Video, animation, short film, ad, or UX journey |
If the idea is still rough, start with a prompt library to turn a loose concept into clearer questions, scene directions, and planning prompts before building the storyboard.
Step 2: Start with a blank storyboard or generate a first draft
Once the goal is clear, decide how you want to begin.
If you already know the story structure, build the frames manually from your planned sequence. If you are starting from a script, outline, campaign idea, or product story, use an AI storyboard generator to create a first draft from a simple prompt.
For example:
“Create a 30-second product demo storyboard for a mobile app onboarding flow. Include the user problem, product interaction, key benefit, and final CTA.”
This gives your team a starting sequence faster. You still control the final story, but you do not have to begin with a blank canvas.
You can follow the same AI-led workflow in the walkthrough below. It shows how to generate a storyboard from a prompt, then refine the frames, visuals, and scene context before sharing it with your team.
If your planning starts in Claude, Cursor, VS Code Copilot, or another AI assistant, you can also use the IdeaBoard MCP connector to turn prompts, project notes, scripts, or local context into editable visual boards. This is useful when storyboard planning is connected to product documentation, campaign briefs, codebases, meeting notes, or research inputs.
Step 3: Break the story into scenes
Next, organize the storyboard around major story moments. Each scene should move the viewer closer to the message, outcome, or decision.
Use a simple structure:
- Beginning: Set up the problem, context, character, or user need
- Middle: Show the action, conflict, product interaction, or decision point
- End: Show the outcome, resolution, CTA, or next step
In IdeaBoard, this works well because you can keep the full scene flow visible on the canvas. You can group related frames, move scenes around, and test different orders without rebuilding the storyboard each time.
Step 4: Create the frame sequence
After the scenes are clear, break each one into individual frames. The goal is to control what the viewer sees first, next, and last.
Each frame should answer one simple question: “What needs to be understood at this moment?”
Build your sequence around:
- Shot order: Place frames in the exact order the viewer should experience them
- Continuity: Make sure each frame connects clearly to the one before it
- Pacing: Use fewer frames for simple moments and more frames for detailed action
- Viewer attention: Show the subject, movement, or detail that matters most
If the story changes during review, you can reorder frames on the IdeaBoard canvas instead of renumbering static slides or rebuilding a document.
Step 5: Add visuals to each frame
Your storyboard visuals do not need to be polished. Rough thumbnails, simple layouts, arrows, placeholders, or generated images are enough as long as each frame is clear.
Focus on:
- Subject placement
- Main action
- Movement direction
- Scene setting
- Important objects or interface elements
If you want faster visual direction, you can generate frame images from scene descriptions and then refine them as the storyboard evolves. This is useful for early approvals because stakeholders can understand the mood, pacing, and visual intent before production begins.
For game, film, product, or environment-based storyboards, you can also bring 3D references into the board. Use 3D models to explore props, objects, spaces, or scene concepts visually before the final production direction is locked.
You can also use ready-made layouts when you do not want to build every frame from scratch. For example, if you are making a storyboard for game design, start with a game design storyboard template and customize the frames, notes, and sequence around your own story.
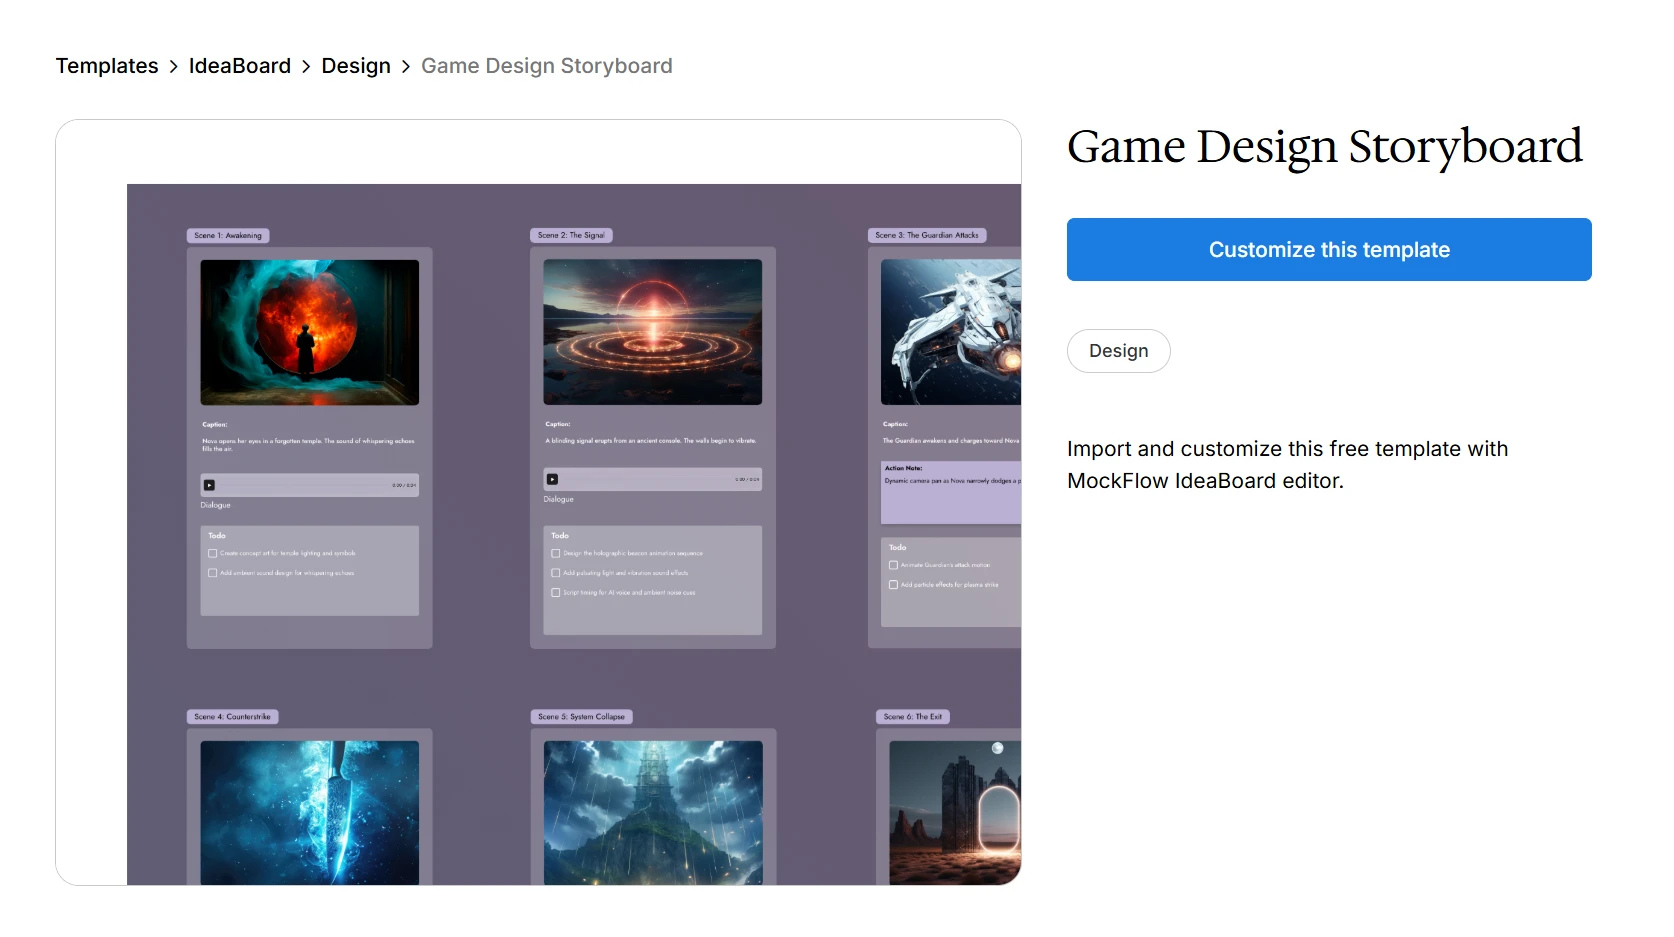
Customize this game design storyboard template
Step 6: Add scene details and production context
A storyboard becomes more useful when each frame includes the context needed to produce it. The visual shows what happens. The notes explain what the team needs to capture.
Add details such as:
- Frame description
- Character action
- Dialogue or voiceover
- On-screen text
- Sound effects
- Timing
- Location
- Production notes
Keep the scene notes close to the frames they support, so collaborators can review script excerpts, production instructions, and feedback without switching between separate documents.
Step 7: Mark camera angles, movement, and transitions
Once the basic sequence is clear, add direction for how each frame should be captured or animated.
Use simple notes for:
- Wide shot
- Close-up
- Over-the-shoulder shot
- Point of view
- Pan
- Zoom
- Tracking movement
- Fade or cut
You do not need heavy production language. The goal is to help editors, animators, designers, or filmmakers understand how the viewer’s attention should move through the scene.
Step 8: Review the full story flow with collaborators
Review the storyboard as one complete sequence before production starts. This is where you catch missing scenes, weak transitions, confusing actions, and pacing issues while they are still easy to fix.
Ask:
- Does the sequence make sense from beginning to end?
- Is any important moment missing?
- Does the pacing feel too slow or too rushed?
- Does every frame have a clear purpose?
- Can the production team understand the storyboard without extra explanation?
In MockFlow IdeaBoard, reviewers can leave comments directly around the storyboard instead of sending feedback through separate email threads or documents. That keeps decisions tied to the exact frame they affect.
Step 9: Refine, export, and hand off
After review, update the frames, notes, timing, scene order, and production details. Once the storyboard is approved, prepare a final version that others can use without needing a separate walkthrough.
Your handoff should include:
- Final frame sequence
- Scene notes
- Dialogue or narration
- Camera direction
- Timing
- Transitions
- Production instructions
When the board is ready, export the board for stakeholders, editors, animators, developers, marketers, or production teams. This keeps the storyboard useful beyond the planning session and gives everyone a clear visual reference before execution begins.
What are the common elements in a storyboard?
A storyboard usually includes frames, scene notes, dialogue, camera direction, timing, transitions, and shot order. These elements help you turn a visual idea into a clear production plan.
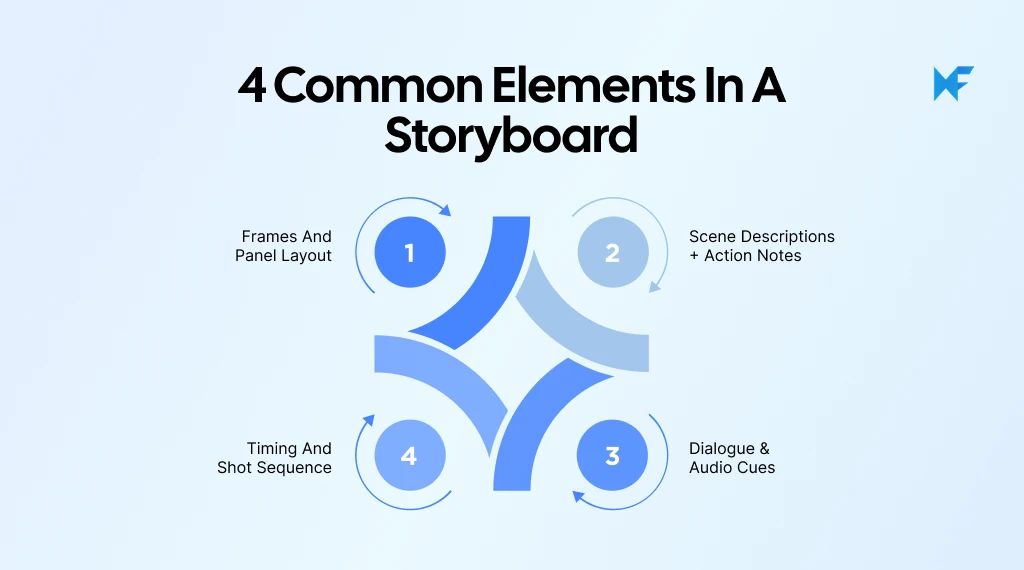
1. Storyboard frames and panel layout
Panels form the visual structure of your storyboard. Each frame represents one moment, shot, or action in the sequence.
Include these basics:
- Panel Layout: Keep frames consistent so the sequence is easy to scan.
- Frame Order: Arrange panels in the exact viewing order.
- Visual Composition: Show subject placement, background, and focus.
- Thumbnail Sketches: Use rough sketches to capture the shot quickly.
- Scene Progression: Use IdeaBoard’s canvas to reorder panels and expand flows without fixed page limits.
2. Scene descriptions and action notes
Scene descriptions explain what is happening in each frame. Action notes help collaborators understand movement, setting, props, and visual context.
Add these details where needed:
- Frame Description: State the main action in the panel.
- Character Action: Note gestures, expressions, or movement.
- Setting: Mention location, environment, or background context.
- Props: List objects the scene depends on.
- Written Context: Keep visuals and notes together in one workspace so reviewers do not need to switch between files.
3. Dialogue and audio cues
Dialogue and audio cues show what the viewer hears during each frame. This includes spoken lines, voiceover, music, sound effects, or silence.
Use notes for:
- Dialogue Cues: Add spoken lines below the frame.
- Voiceover Notes: Mark narration or off-screen speech.
- Sound Effects: Note sounds tied to actions.
- Music Cues: Mark mood or timing changes.
- Feedback Context: Use voice and video comments when tone or delivery needs clearer review.
4. Camera angles and movement indicators
Camera notes show how a scene should be captured or animated. They help you clarify perspective, motion, and viewer focus.
Mark these details:
- Camera Angle Notation: Label shots as close-up, wide shot, POV, or over-the-shoulder.
- Camera Movement: Use arrows for pan, zoom, tilt, or tracking.
- Subject Movement: Show where people, objects, or interface elements move.
- Labels: Add short notes when arrows need context.
- Annotations: Use connectors and labels in IdeaBoard to make movement clear.
5. Timing, transitions, and shot sequence
Timing and transitions help you control pacing and continuity. They show how long a shot lasts and how one frame moves into the next.
Track these sequence details:
- Shot Duration: Note approximate timing for each frame.
- Cuts: Mark direct changes between shots.
- Fades: Use fades for softer scene changes.
- Scene Transitions: Show where one moment ends and another begins.
- Sequence Order: Group related frames in IdeaBoard so the full shot sequence stays easy to review and adjust.
Conclusion
Knowing how to make a storyboard gives your team a clearer way to plan before production starts. It helps you define the story goal, arrange scenes, map the shot sequence, add production notes, and review the full flow before work becomes harder to change.
As the storyboard grows, the real challenge is keeping scenes, feedback, notes, and revisions organized. A shared visual workspace like MockFlow IdeaBoard helps teams work together in real time using sticky notes, connectors, comments, reactions, and collaborative planning workflows during live reviews.
When you need a faster starting point, the template library gives you more than storyboard layouts. It includes templates for sprint planning, retrospectives, product strategy, ideation, process mapping, and collaborative facilitation, so teams can structure different planning workflows without starting from scratch.
Start with a clear sequence, keep each frame purposeful, and use the storyboard as a practical guide for execution. To organize your next storyboard in one shared workspace, sign up for IdeaBoard today.
FAQs
1. What are the 7 steps of storyboarding?
The 7 steps of storyboarding are:
- Define the story goal.
- Break the idea into key scenes.
- Create a shot sequence.
- Sketch thumbnail frames.
- Add scene details and context.
- Mark camera angles and movements.
- Review, share, and refine the storyboard.
2. What is a storyboarding example?
A product demo video is a simple storyboarding example. The first frame shows the customer’s problem. The next frames show the product in use, key feature moments, dialogue cues, on-screen text, and the final CTA.
3. What is a storyboard in simple terms?
A storyboard is a visual plan for a story, video, animation, scene, or product journey. It breaks the idea into frames or panels so you can see what happens first, next, and last.
4. How do you create a storyboard?
You create a storyboard by turning your idea into a clear sequence of frames. Start with the goal, outline the main scenes, arrange them in order, sketch each frame, and add notes for action, dialogue, camera angles, timing, and transitions.
5. What is the easiest way to make a storyboard?
The easiest way is to start with a simple goal, break the idea into scenes, sketch rough frames, and add short notes under each panel. You can also use MockFlow IdeaBoard as an online option when you want to organize frames, notes, and feedback in one visual workspace.
6. Do I need drawing skills to create a storyboard?
No. You do not need strong drawing skills to create a storyboard. Clear stick figures, shapes, arrows, labels, and rough thumbnail sketches are enough if they explain the action and sequence.
How an API Diagram Works and How to Create One Step by Step
API-based systems can be complex, but explaining them does not have to be. A clear visual can help teams understand how...

What Is the Arrow Diagramming Method and How Does It Work?
Project work becomes much easier to understand when we can clearly see how tasks connect with each other. Instead of looking at...
Mural vs Microsoft Whiteboard: Which Visual Tool Fits Your Team?
Mural and Microsoft Whiteboard both give teams a shared digital canvas, but they are built for different collaboration needs....
